
今回はiZotopeの「Neutron 4」について書いていこうと思います。
Neutron4
イコライザー、オートEQ、アンマスクEQ、コンプレッサー、トランジェントシェイバー、ゲート、エキサイターがセットになった複合型プラグインですね。
これらをまとめて使うことも、独立させて使うこともできるのですが、まずは独立させた状態で1つ1つ紹介していこうと思います。
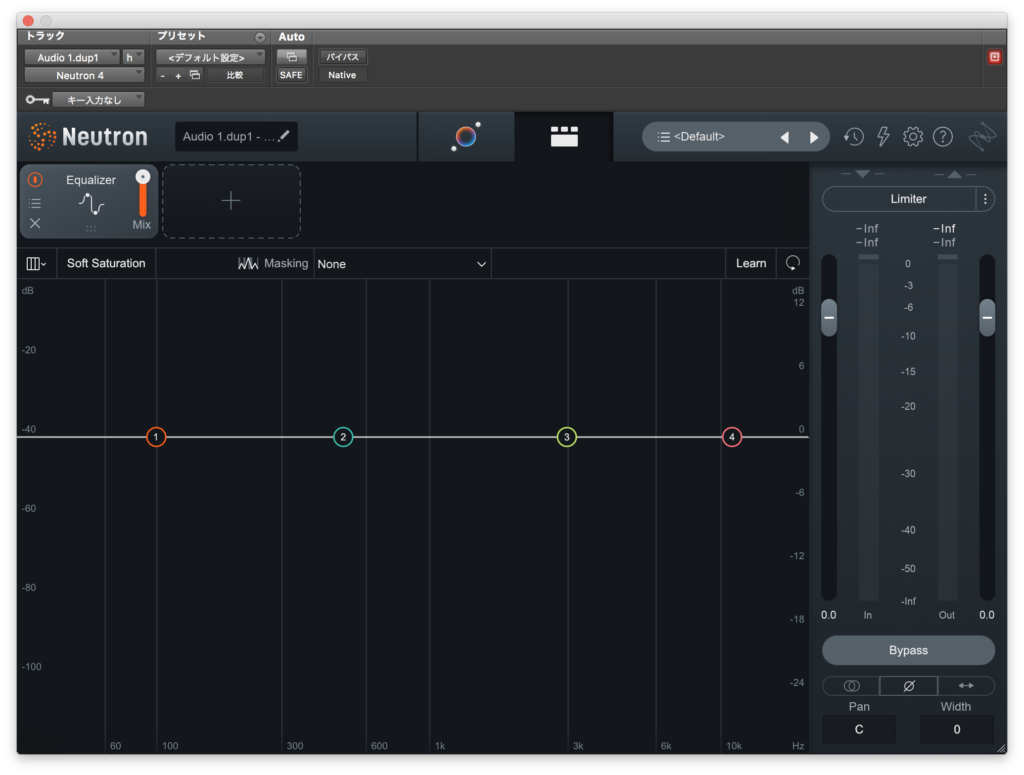
Equalizer

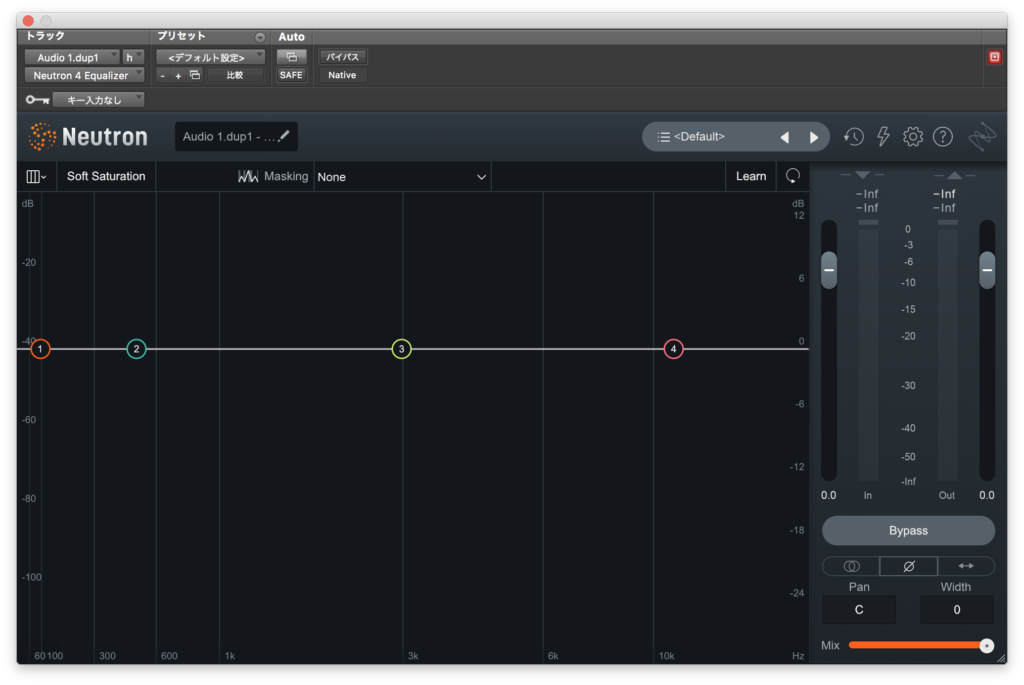
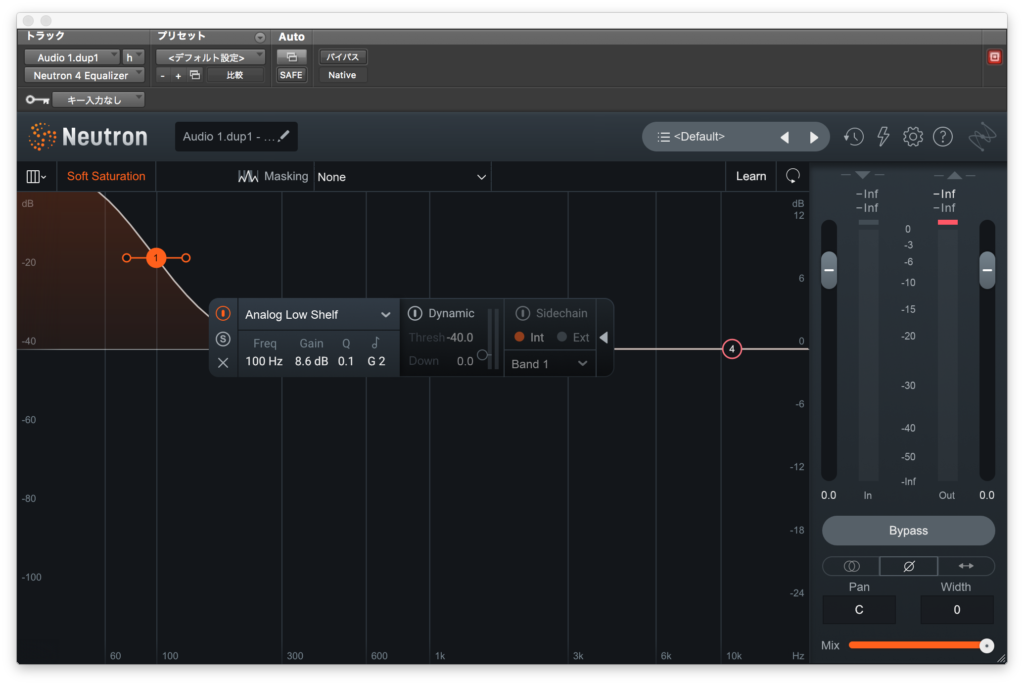
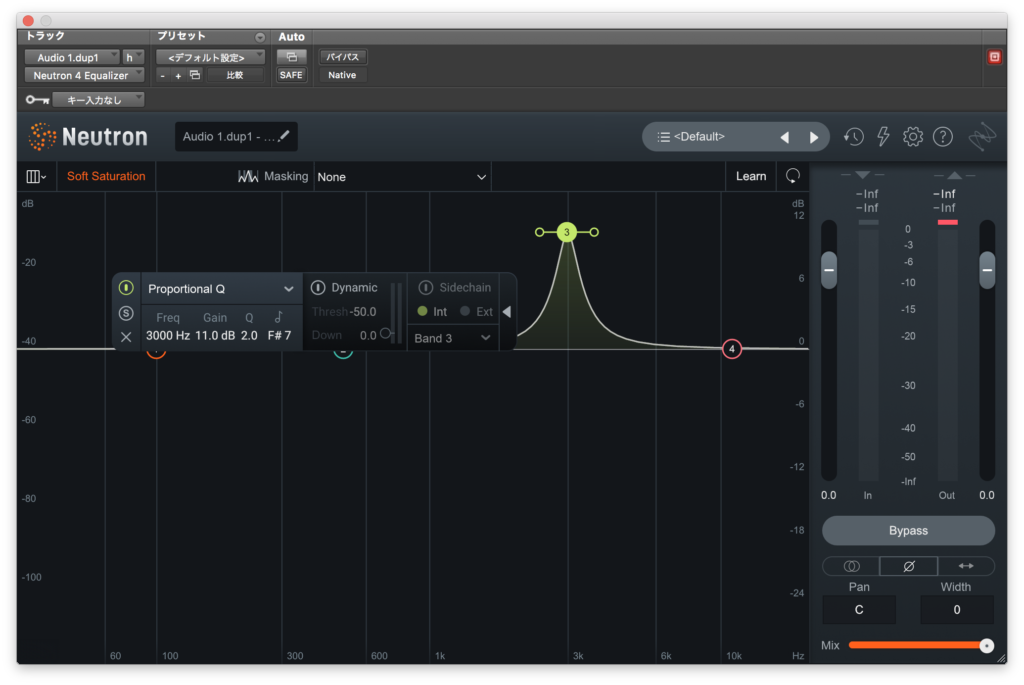
シンプルなイコライザーですね。
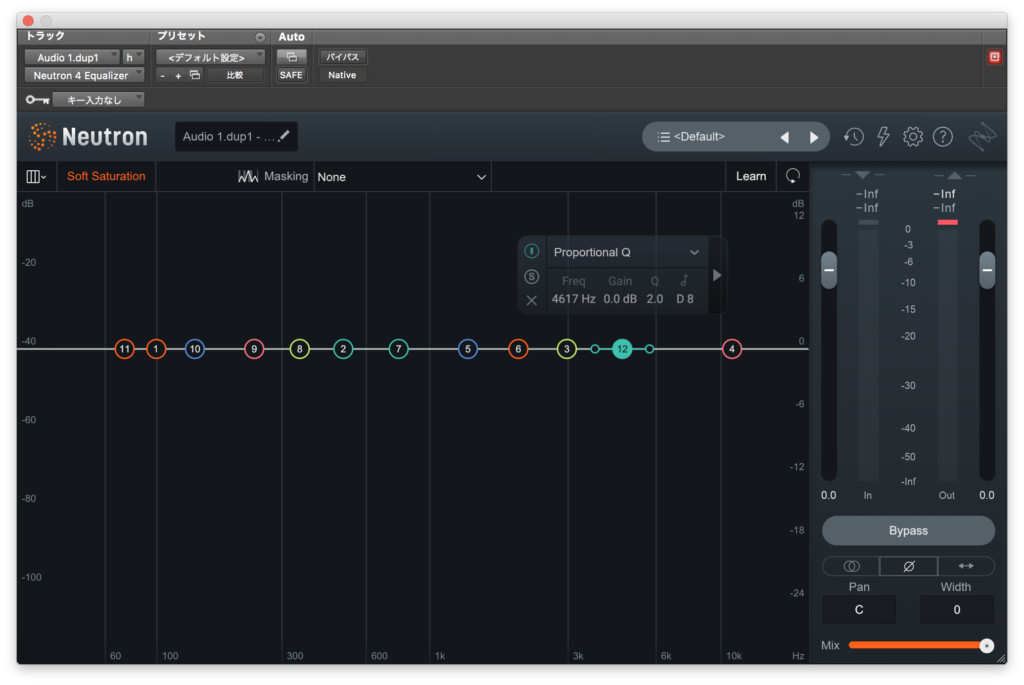
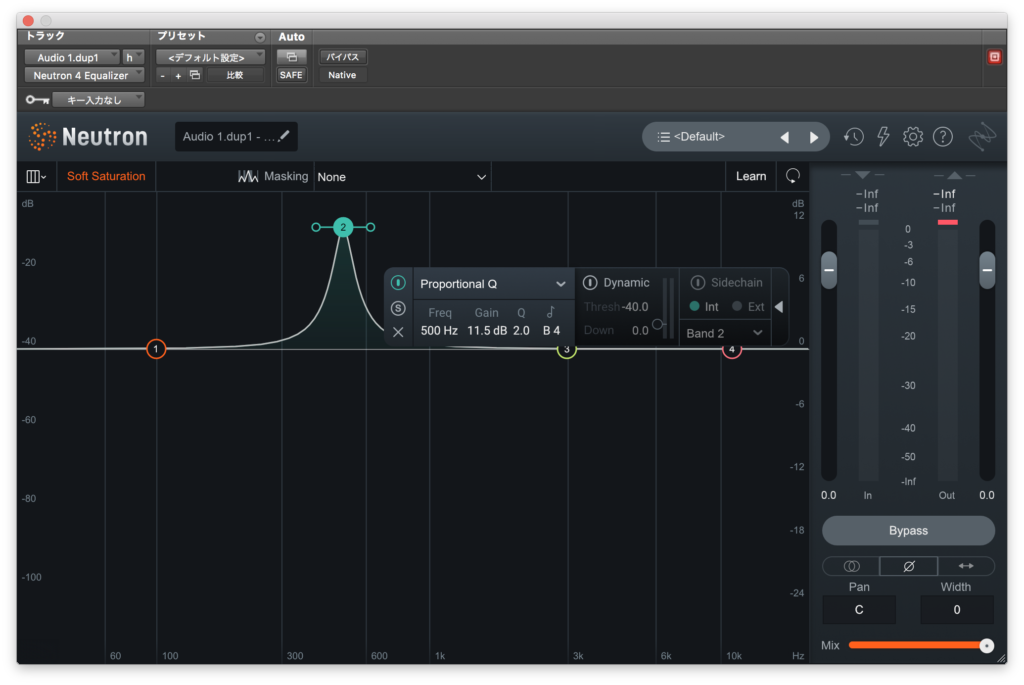
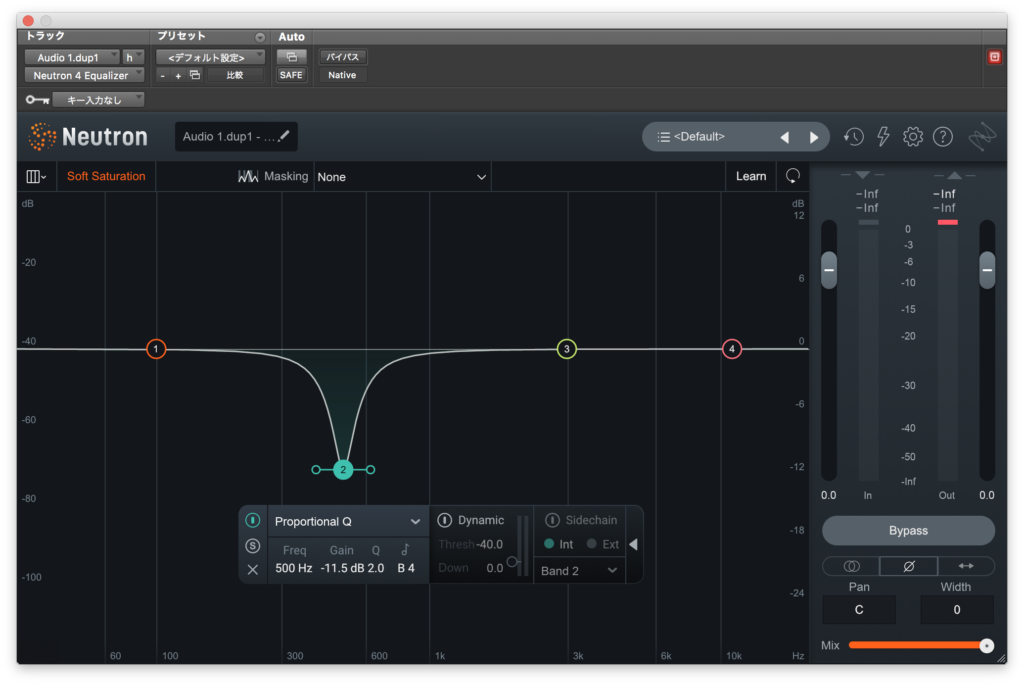
初期状態だと4バンドのポイントが設定されていますがこれはクリックして増やす事ができ、最大12バンドとなります。
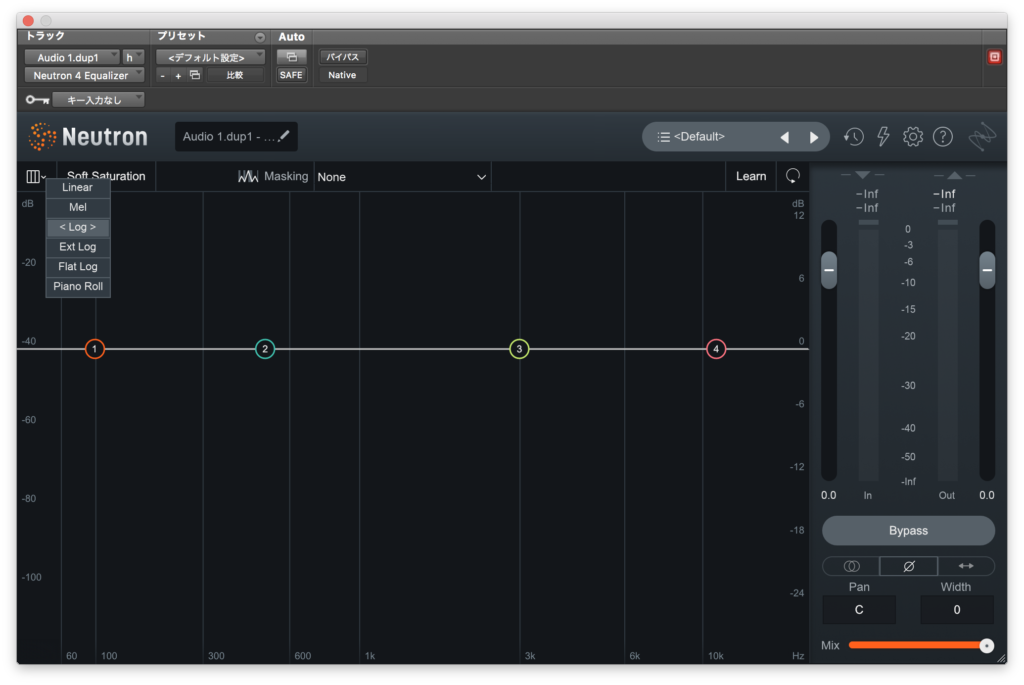
左上で周波数の表示割合を変える事もできます。
Soft Saturationでちょっとした倍音付加もできるようです。
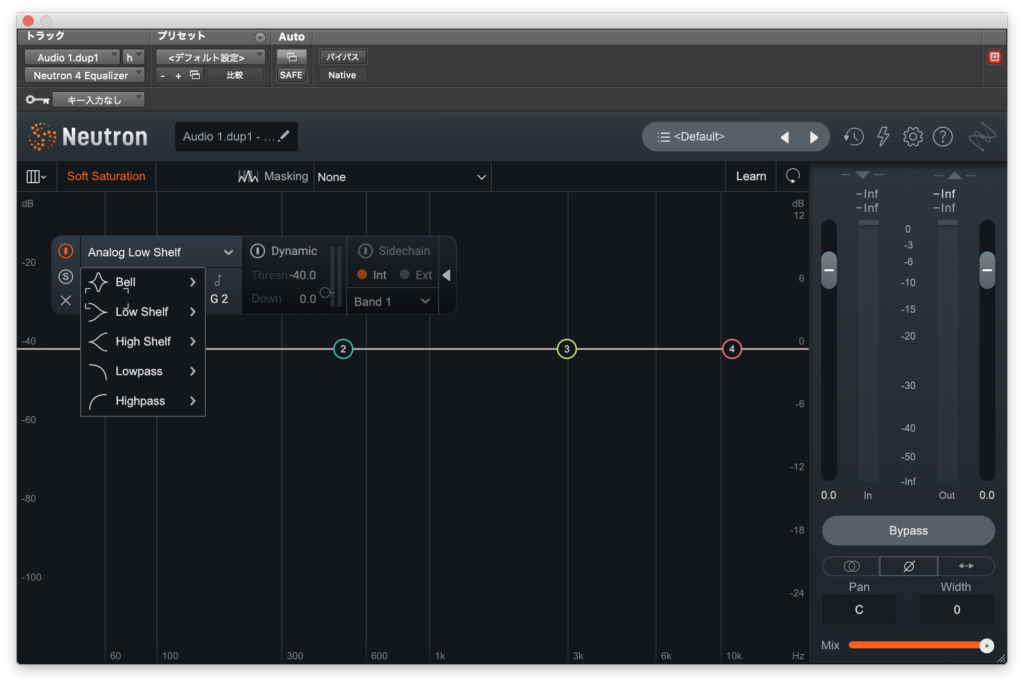
バンドあたりの設定を見るとダイナミックEQモードもあるようですね。
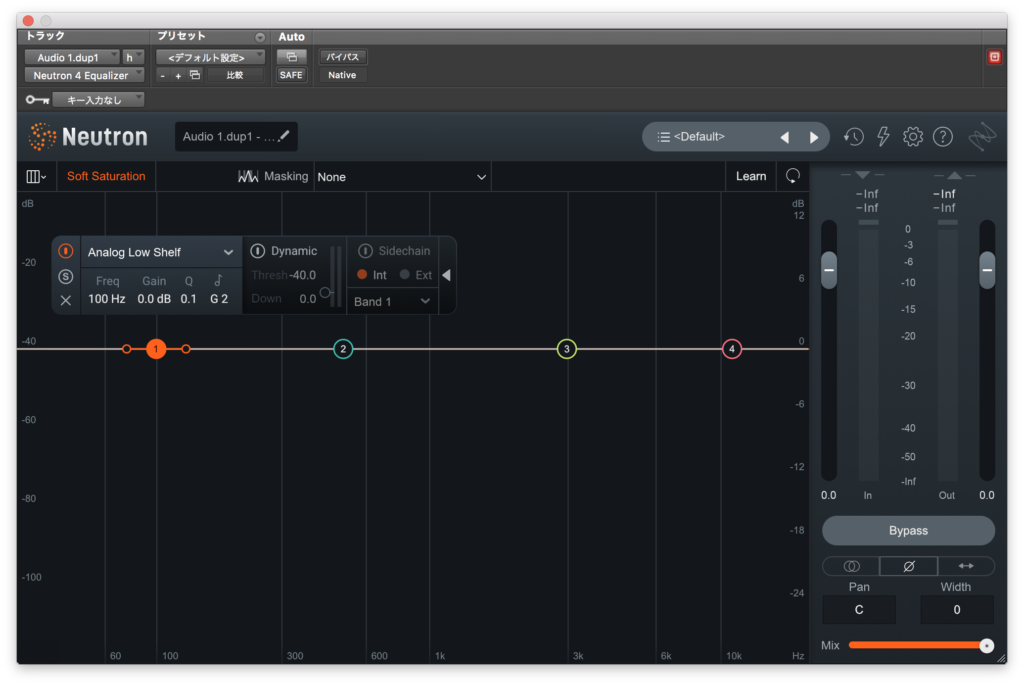
波形の種類はこんな感じで基礎的なものは揃っています。↓
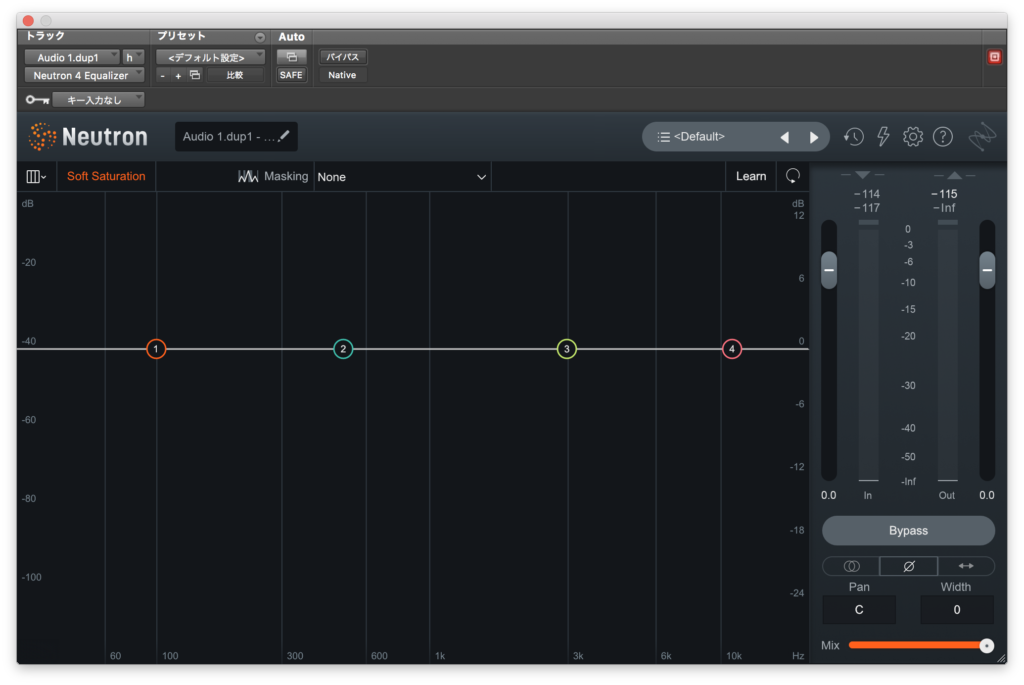
とりあえず初期4バンドのブーストとカットを試してみました。
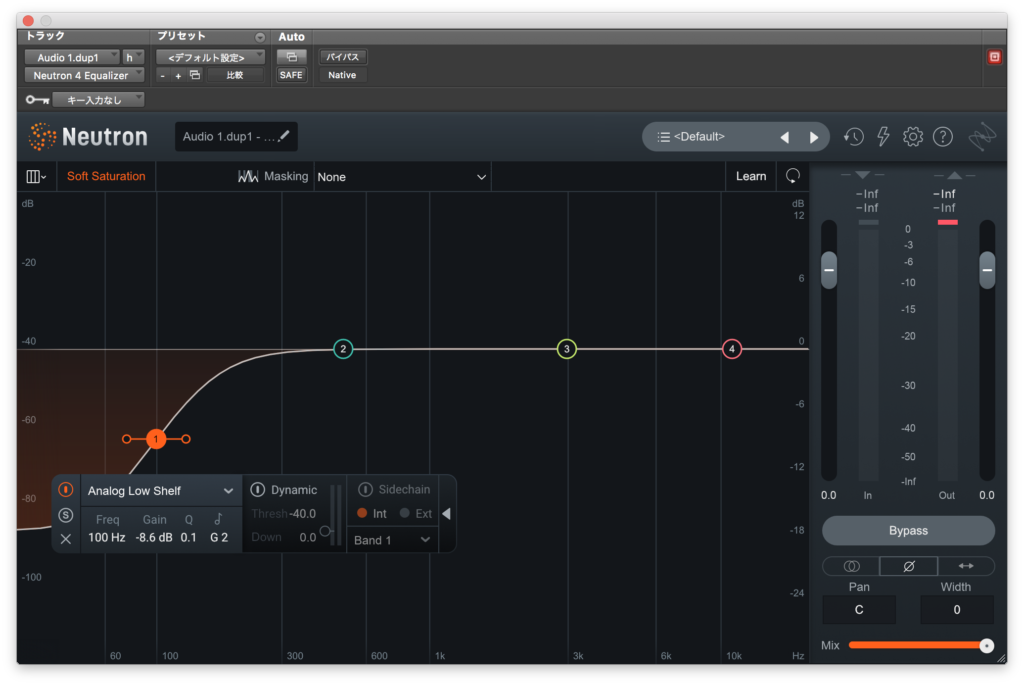
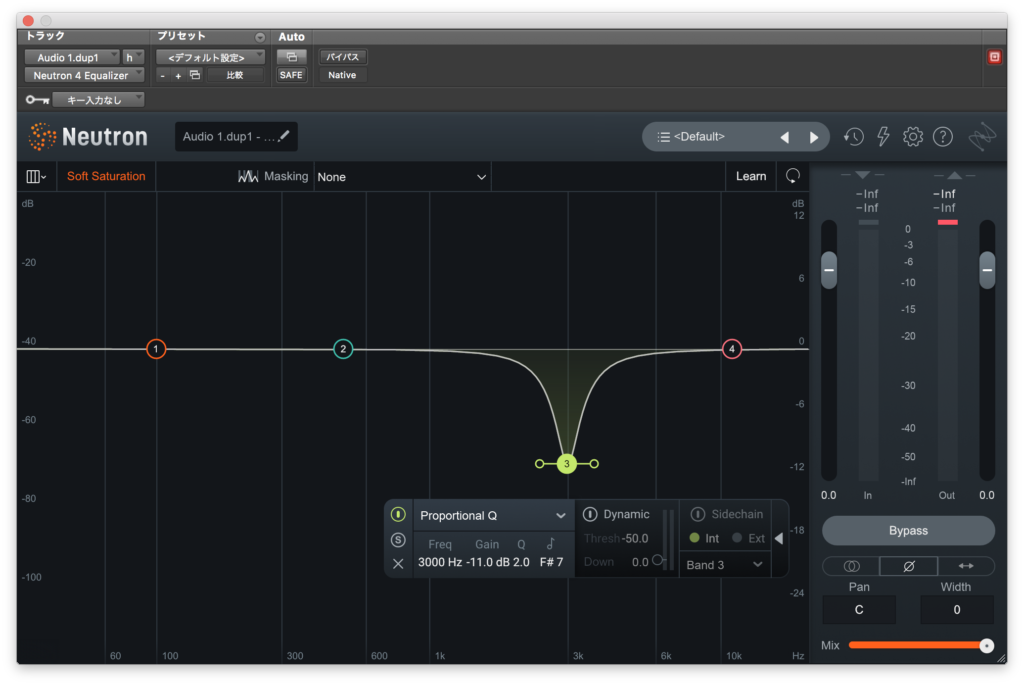
EQとしてはまずまずといったところでしょうか。
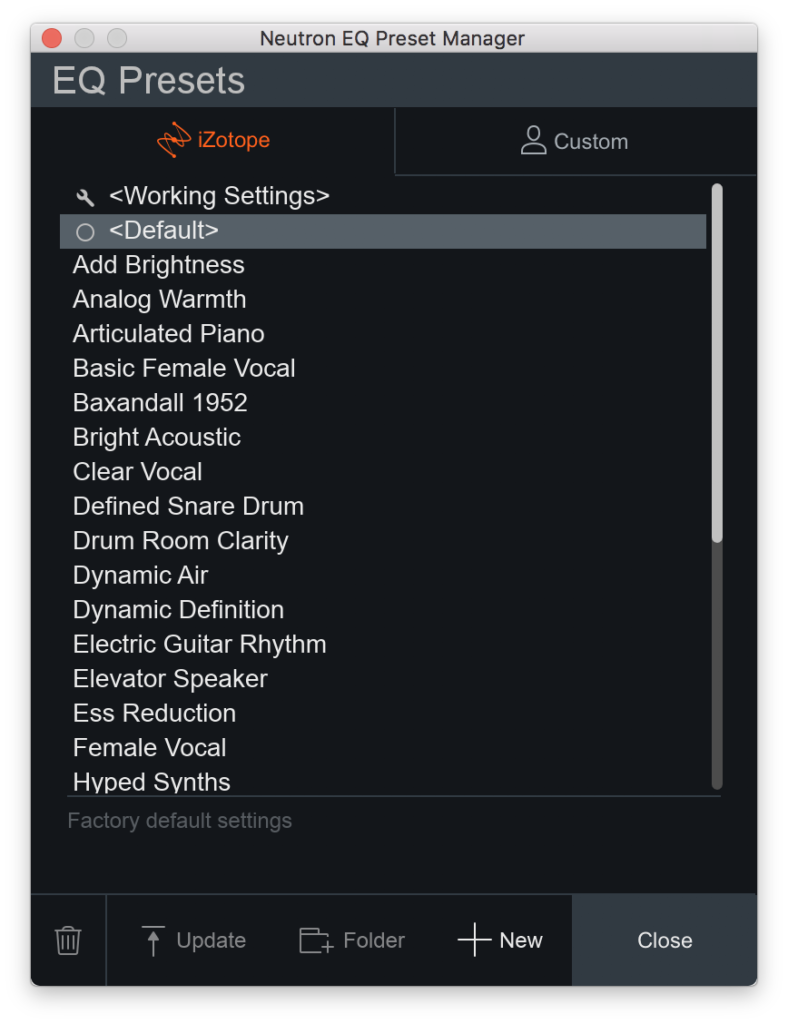
プリセットはこんな感じ↓
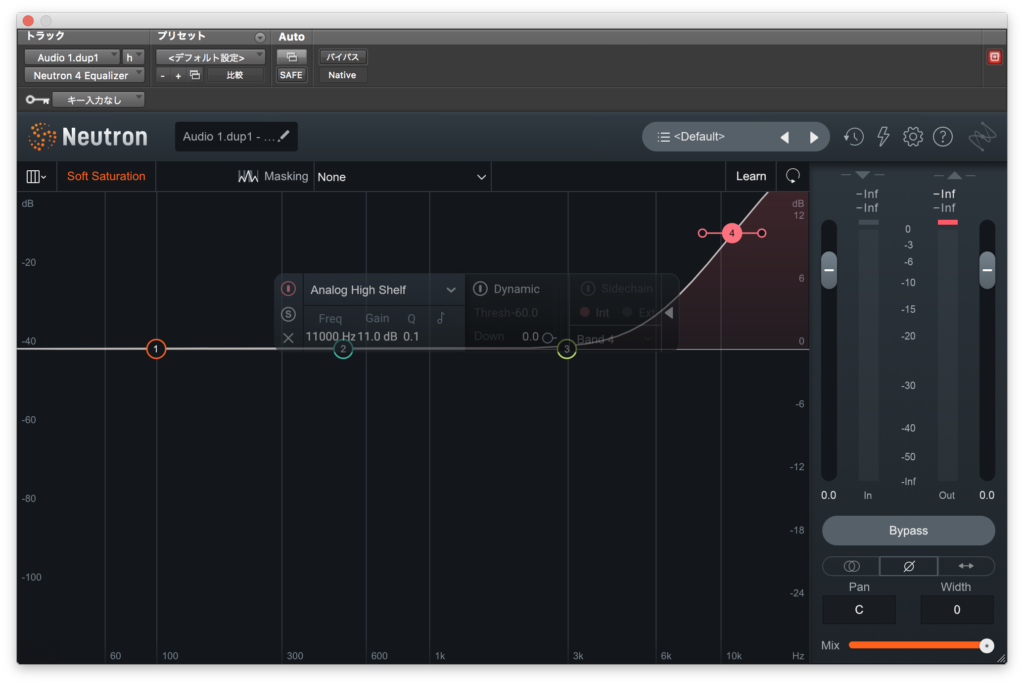
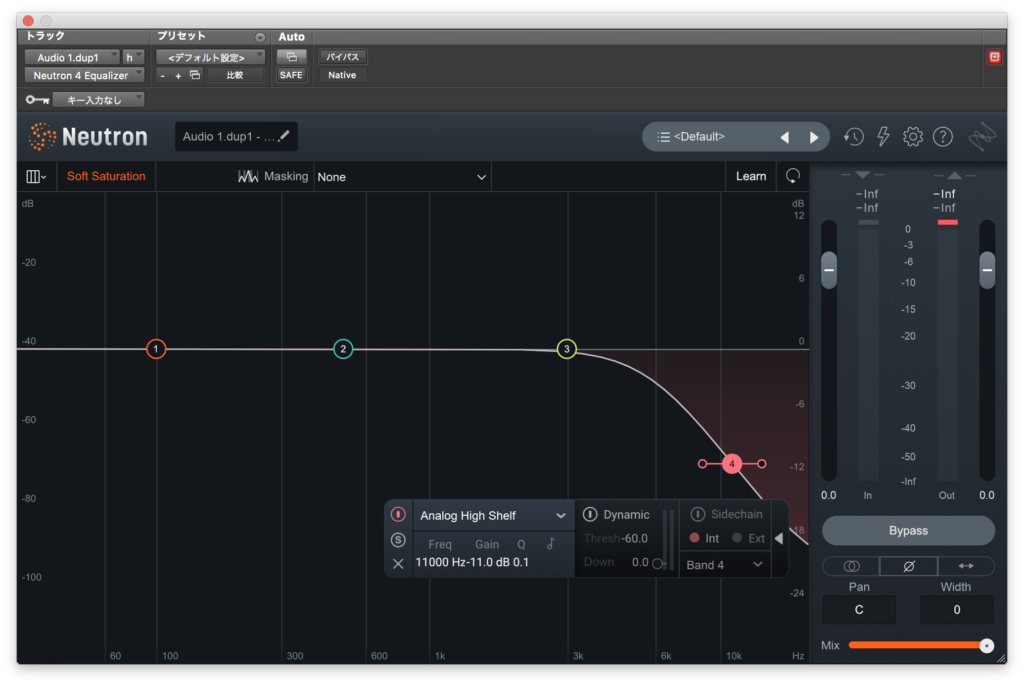
最後にここから1つ試してみます。
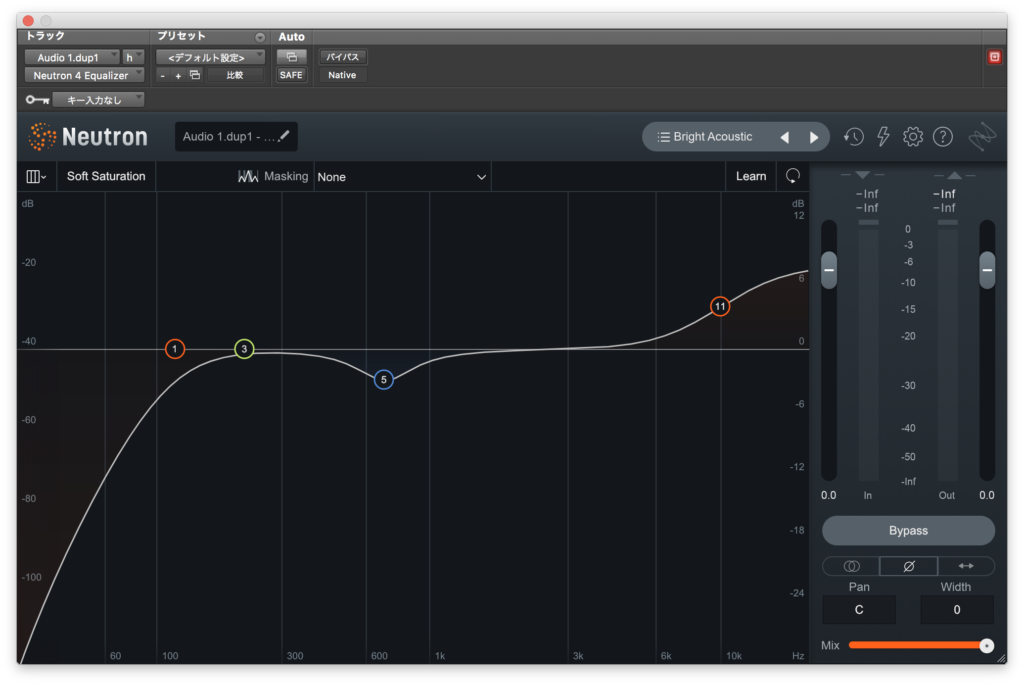
ハイパスがかかっているのでローがややスッキリした感じでしょうか。
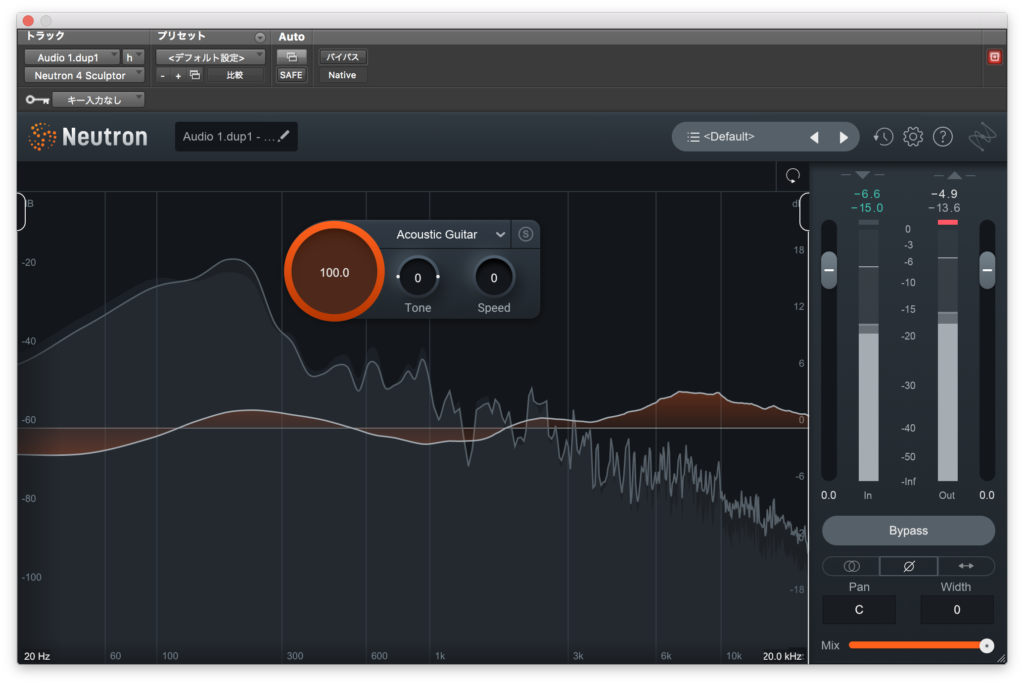
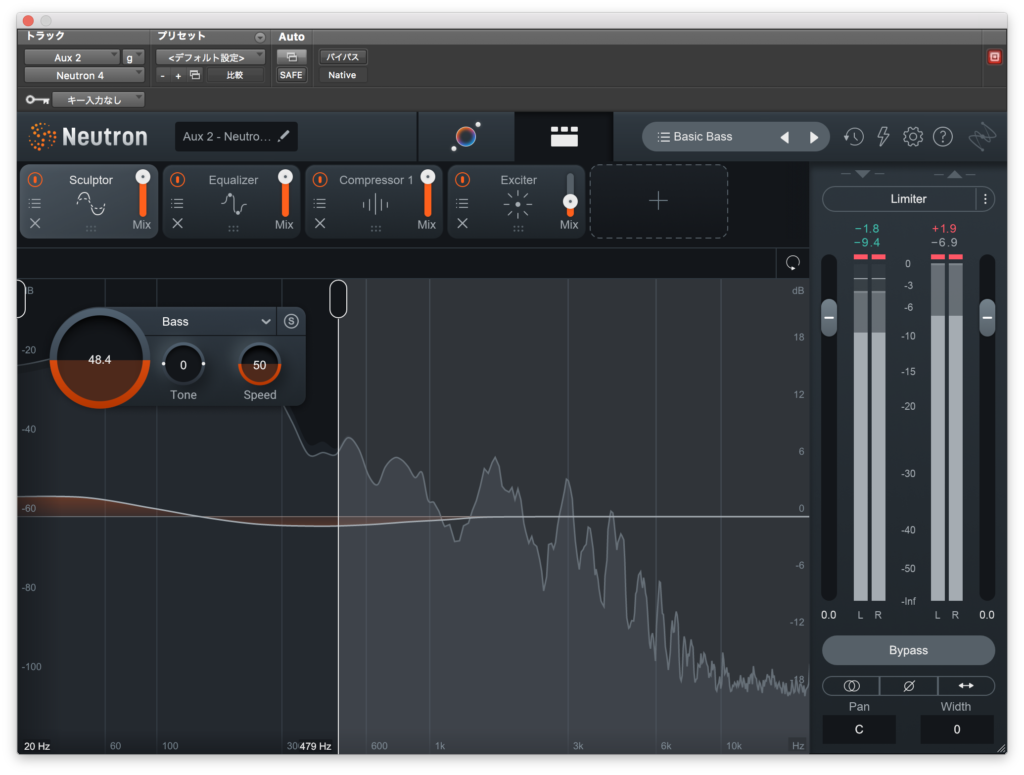
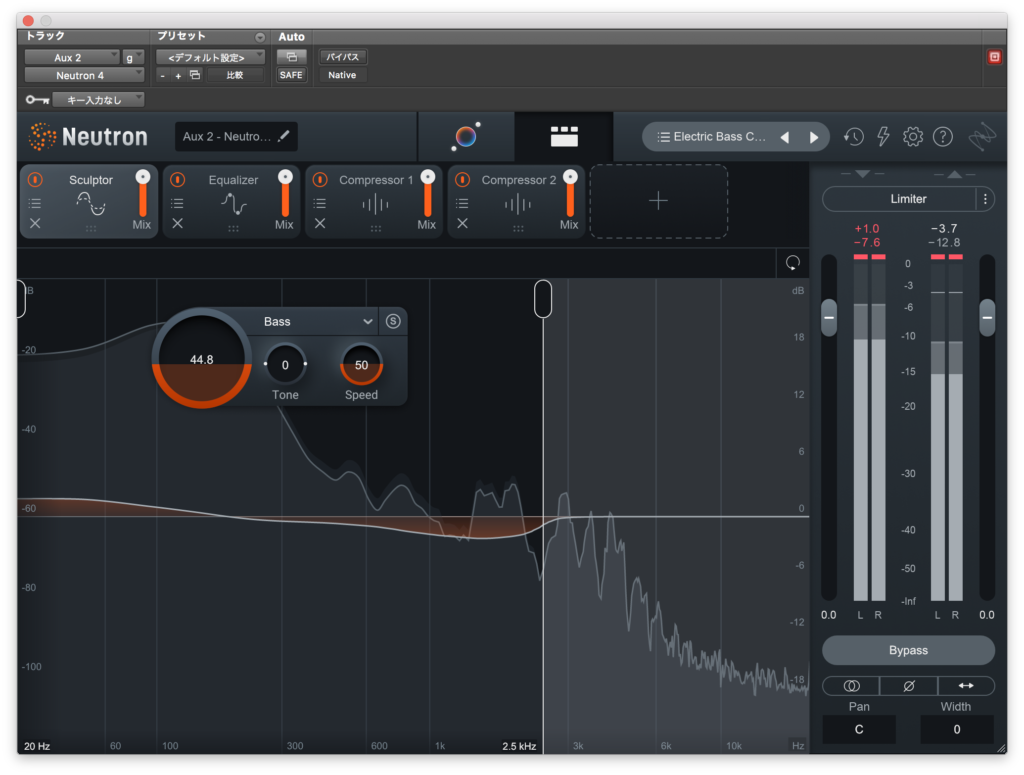
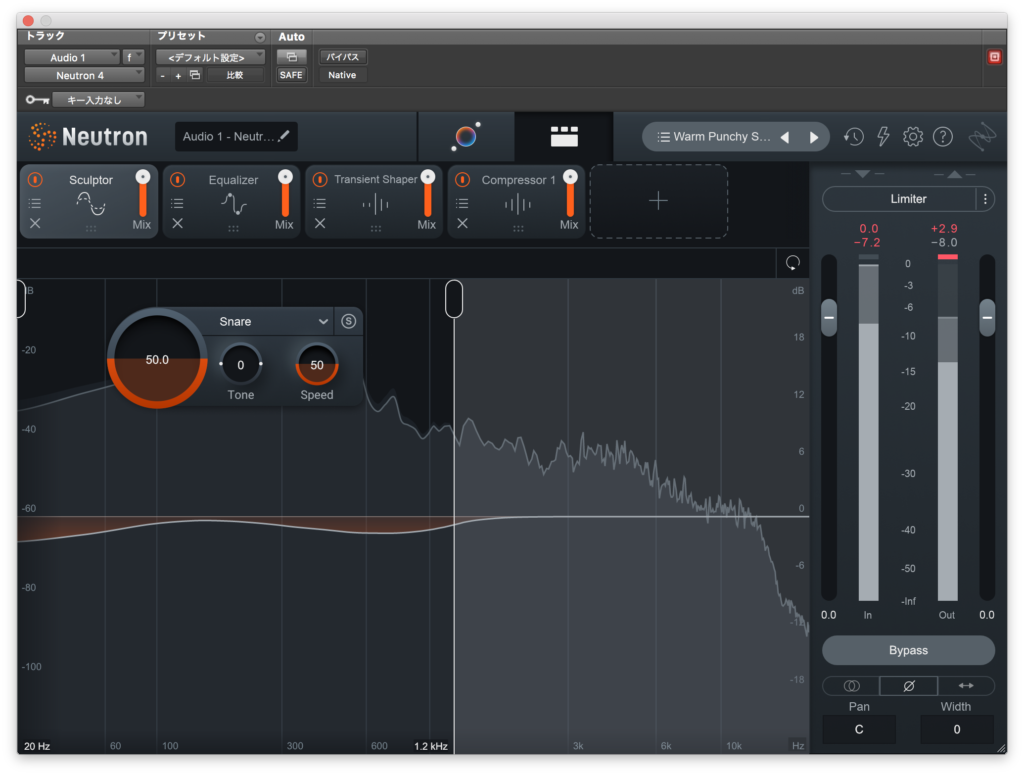
Sculptor
SculptorはオートEQですね。
まず下の図から対象の楽器を選択します。
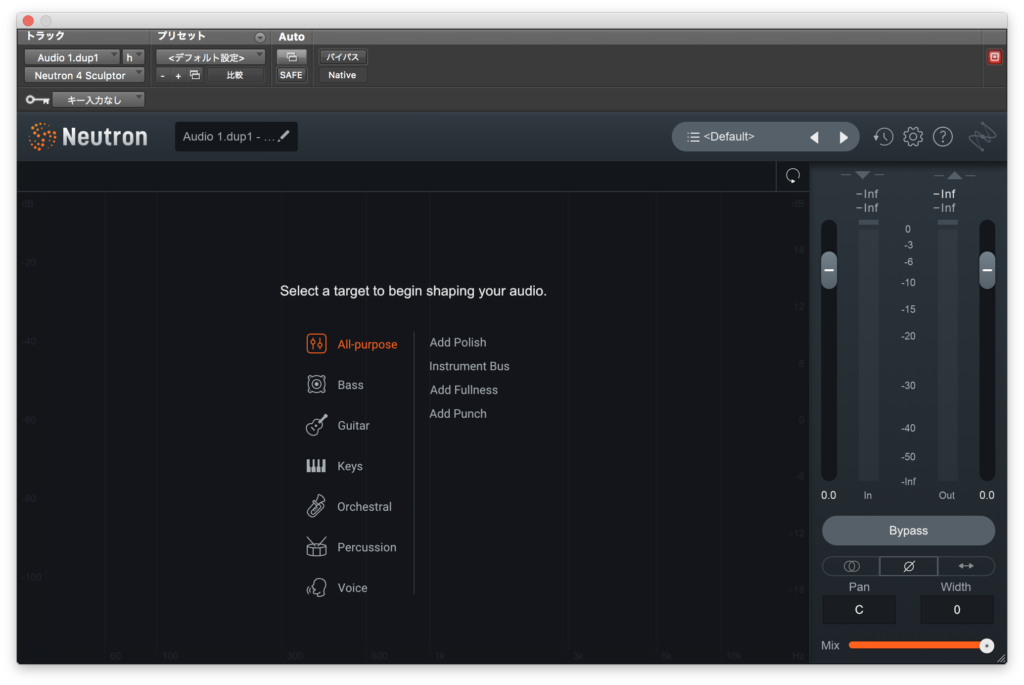
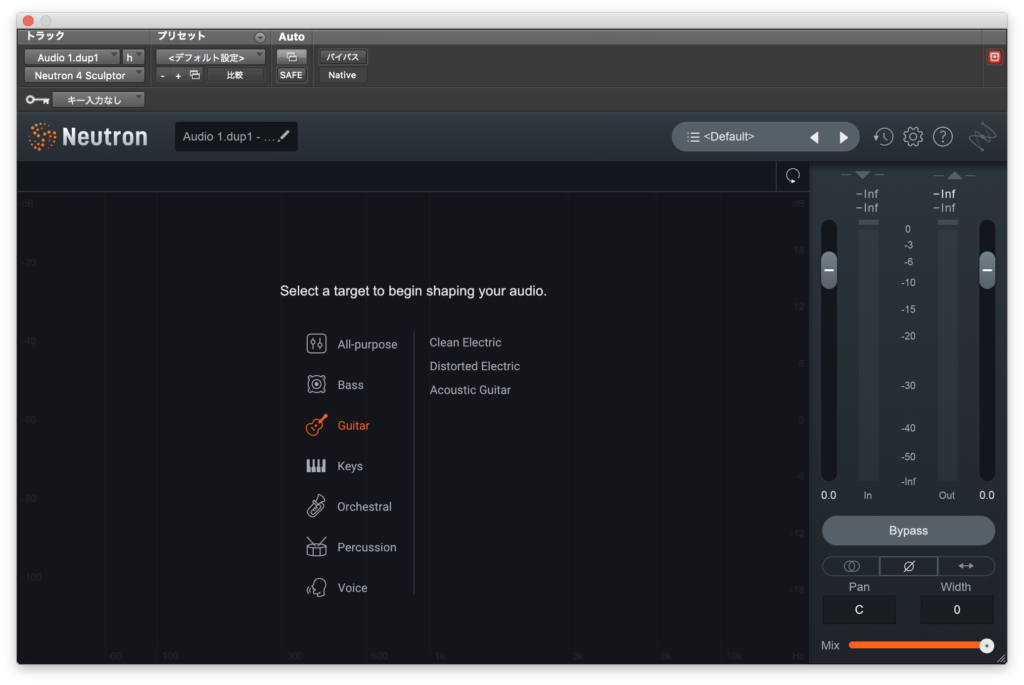
トラックを再生すると入力音に対してリアルタイムでイコライザーが動き、処理をしてくれます。
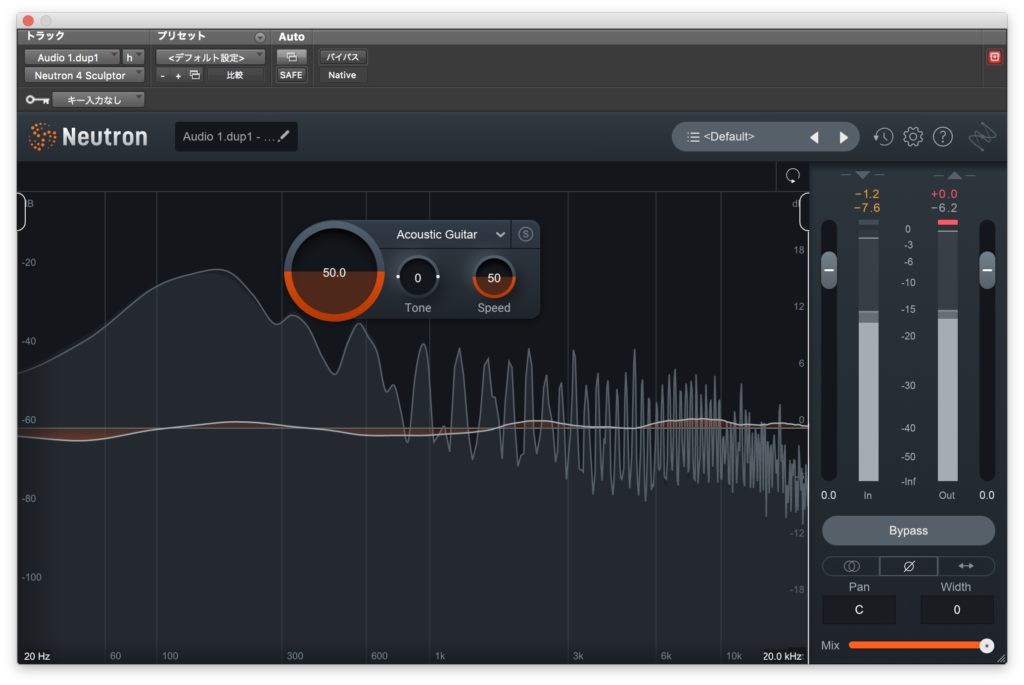
左の丸いパラメーターを上げていくと反応強度が強くなります。
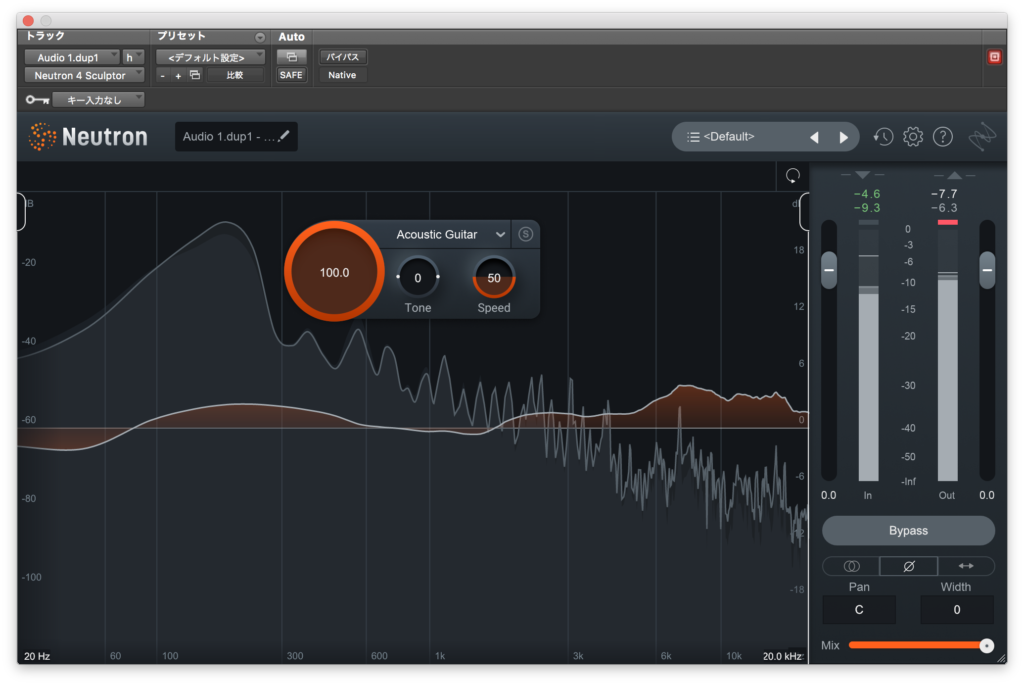
Toneで高域の強調度を設定しまう。

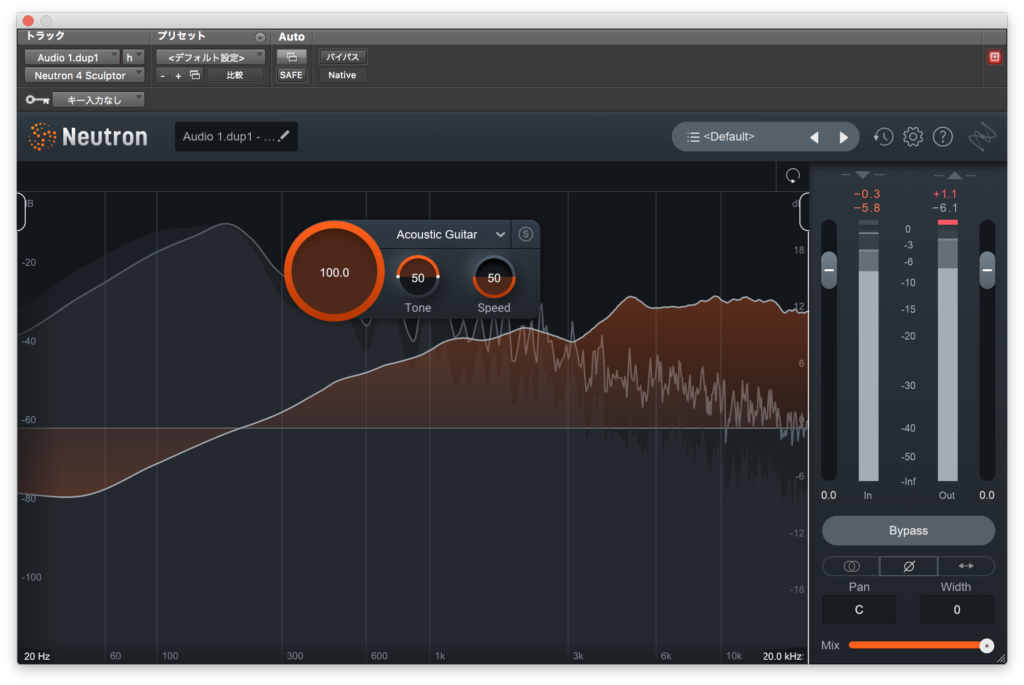
SpeedはAttackとReleaseを設定するとありますが、これは反応速度を決定しているようです。
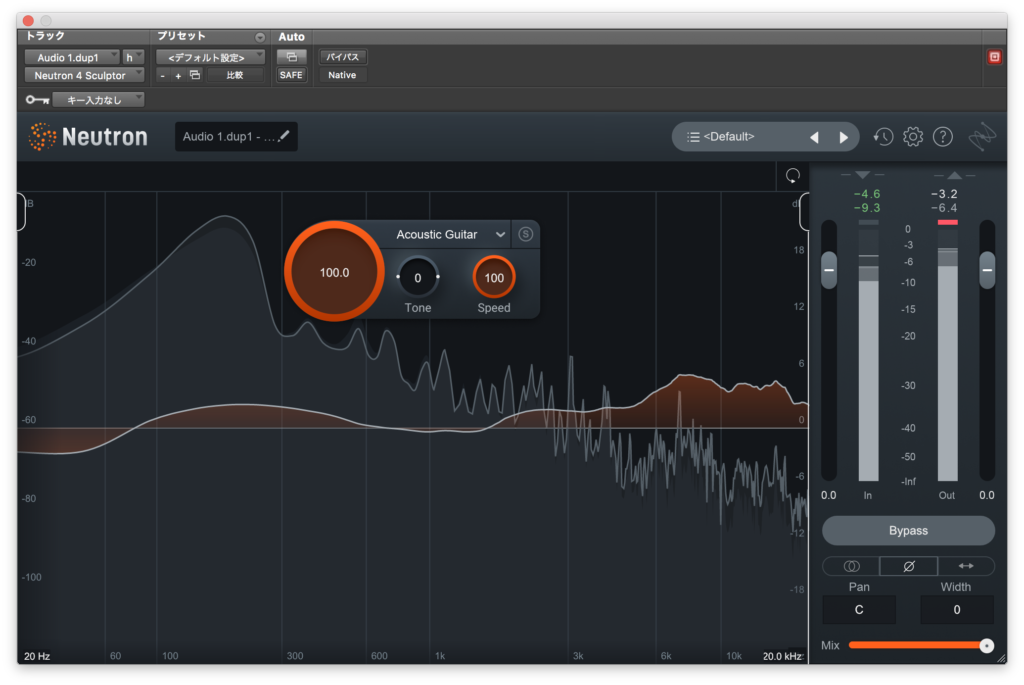
また、左右のバーを動かす事でかかる帯域を制限することもできます。
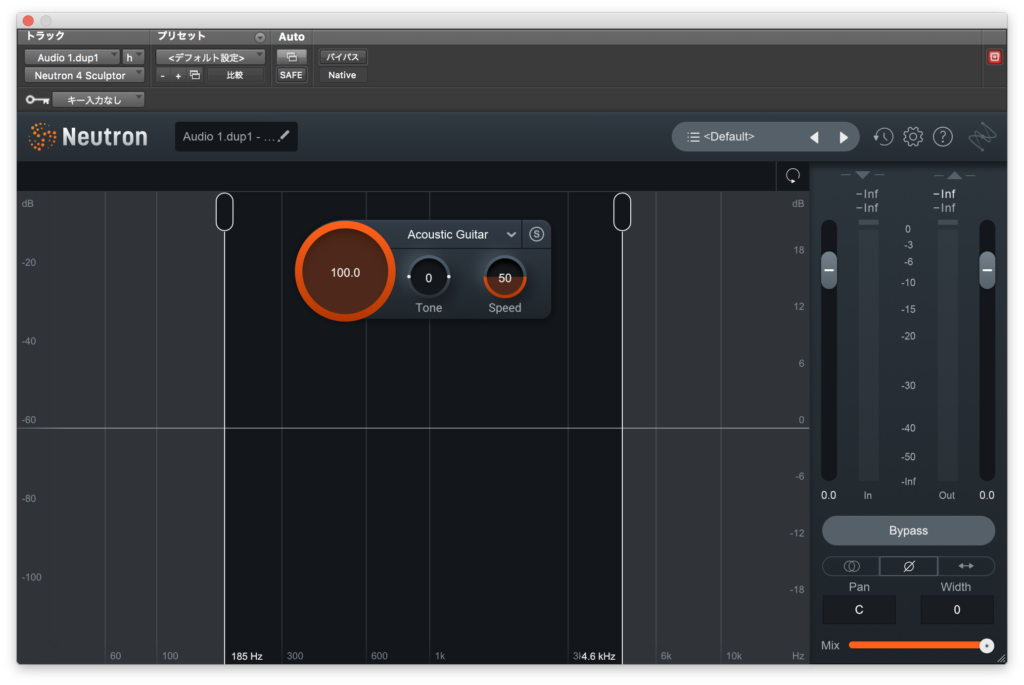
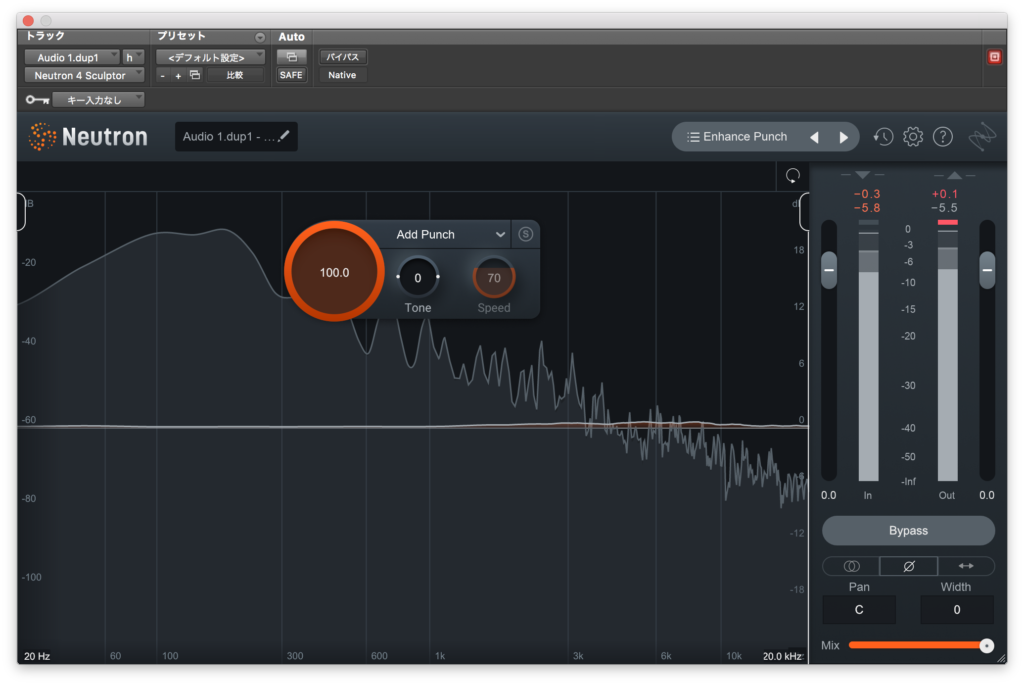
最後に一つだけプリセットを試してみます。
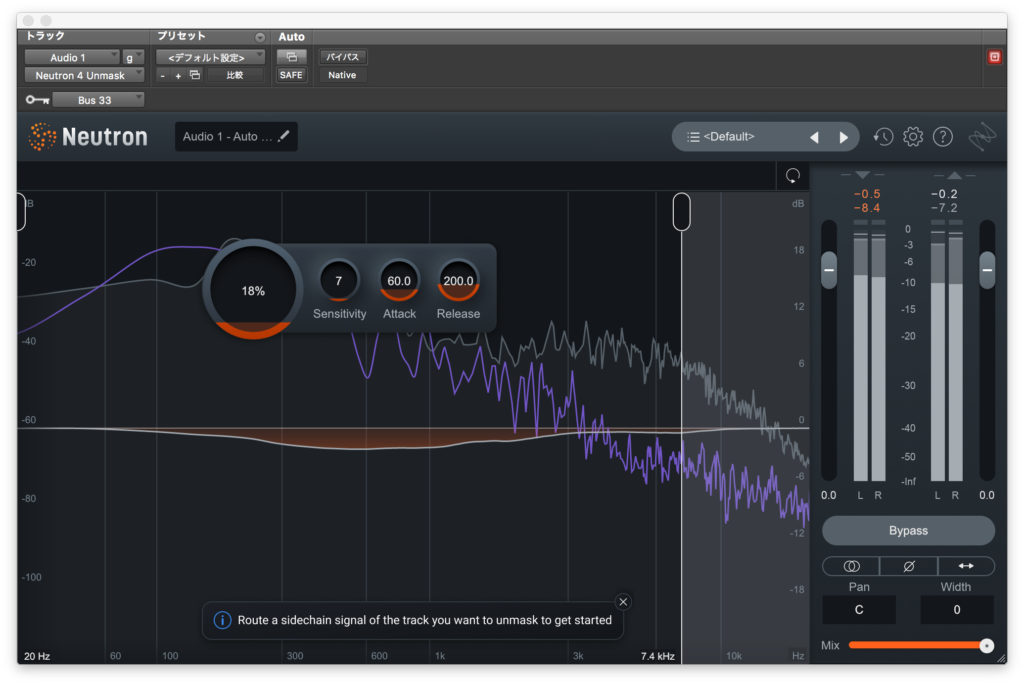
Unmask
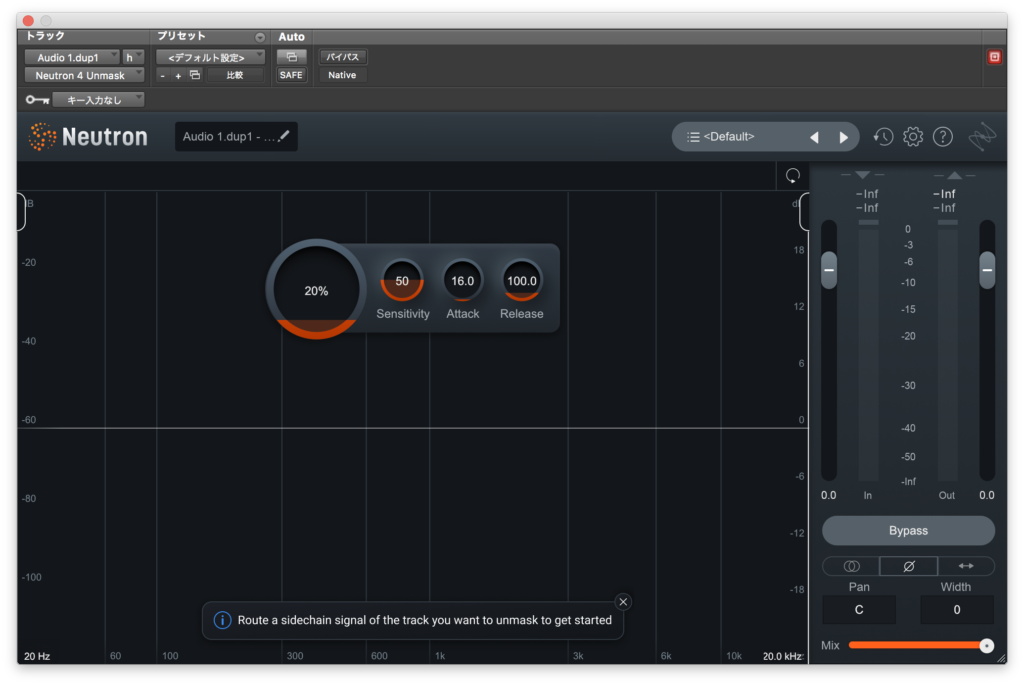
こちらはインサートしたトラックからサイドチェイン入力された信号の帯域を削るイコライザーとなっています。
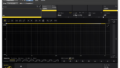
そこで、いつものドラムの音源とアコギの音源を重ねてみました。
とりあえずドラムにインサートしてアコギをサイドチェインしてみるとこんな感じ↓
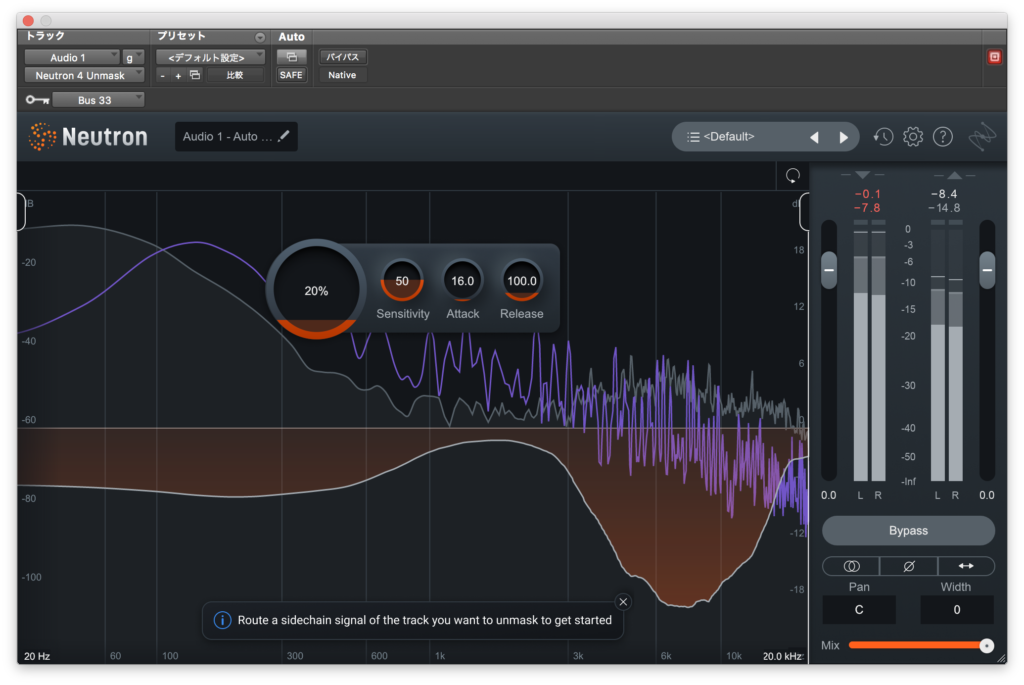
かなり露骨に音が削れていますね。
左のパラメーターを上げると削る幅が広がります。
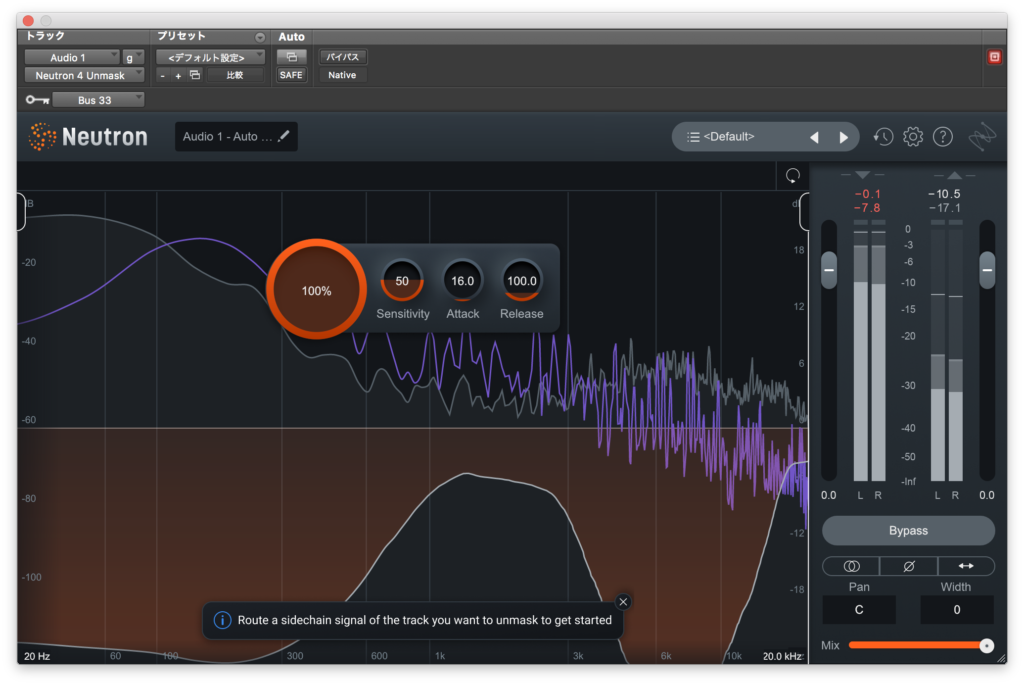
100%にするとかなりめちゃくちゃですね。
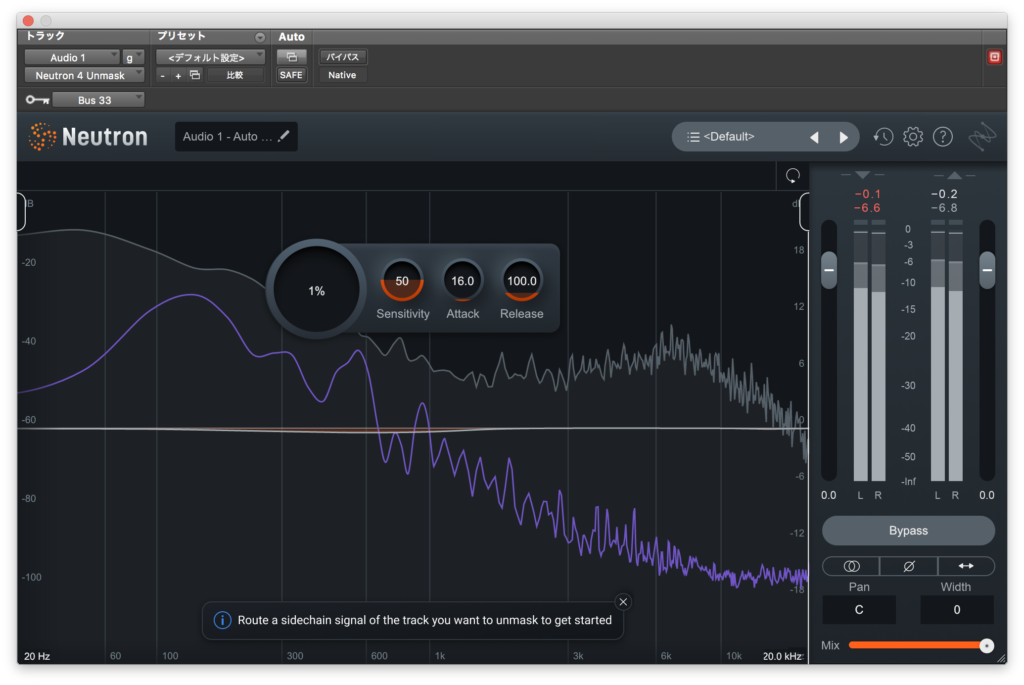
Sensitivityは入力音に対する反応の閾値を決めます。
上げると小さなレベルでも反応するようになります。
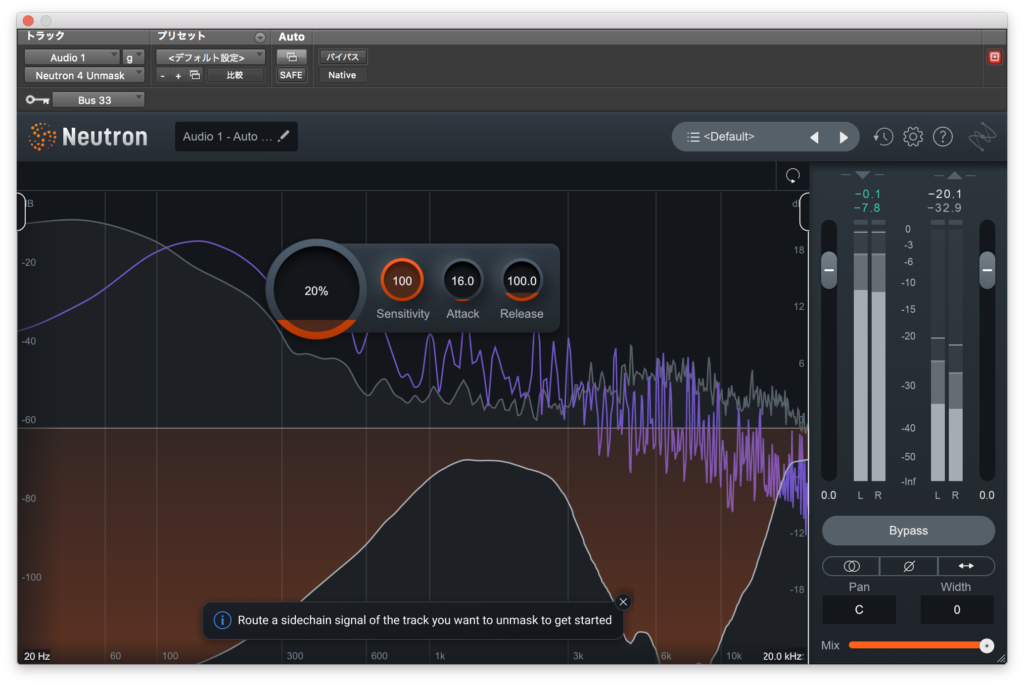
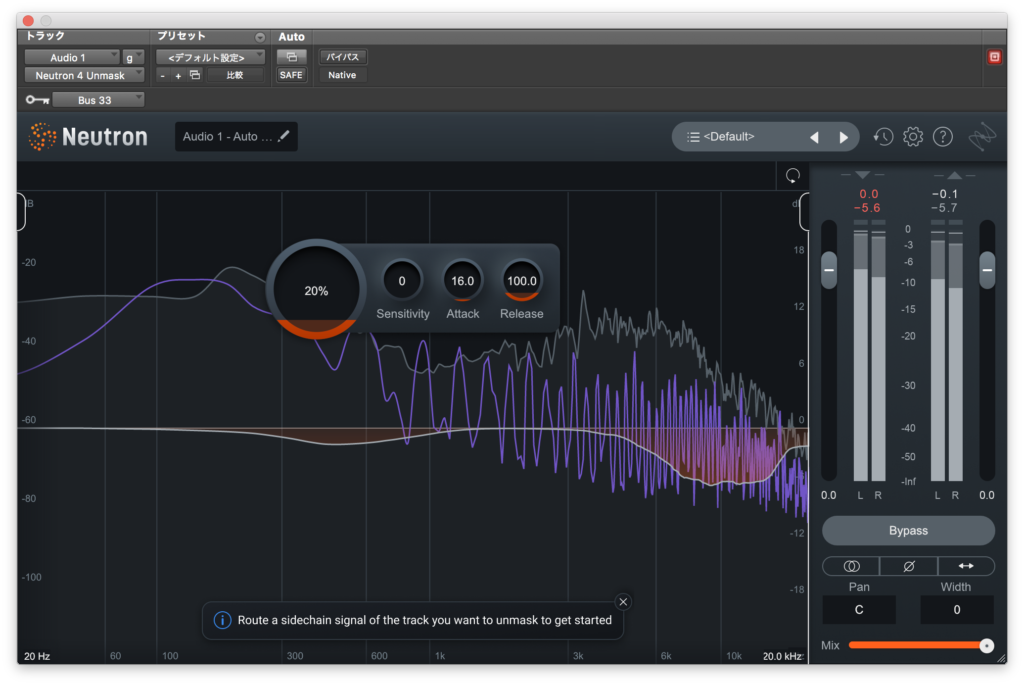
Attackで削り始める早さが、Releaseでフィルターが戻る早さが決まります。
また、こちらもSculptorと同様かかる帯域を左右のバーで選択できます。
まあこのくらいの設定にしておくのがちょうどいいかなと思います。
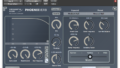
Compressor
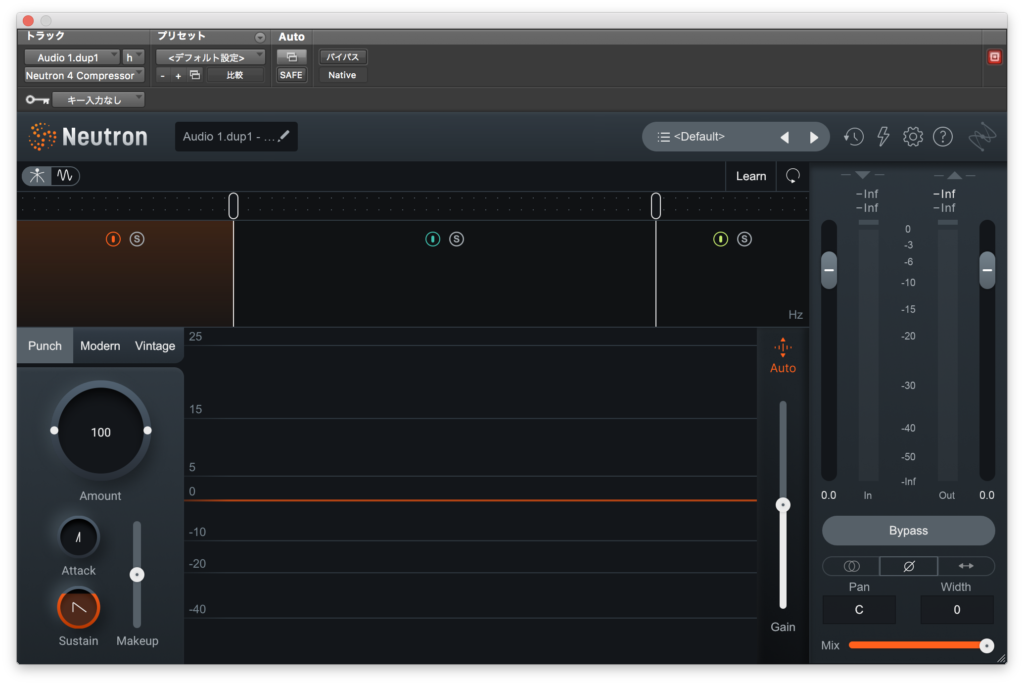
みた感じはやや多機能なコンプレッサーといったところでしょうか。
帯域の指定やPunch、Modern、Vintageの選択ができるところが特色となっているかなと思います。
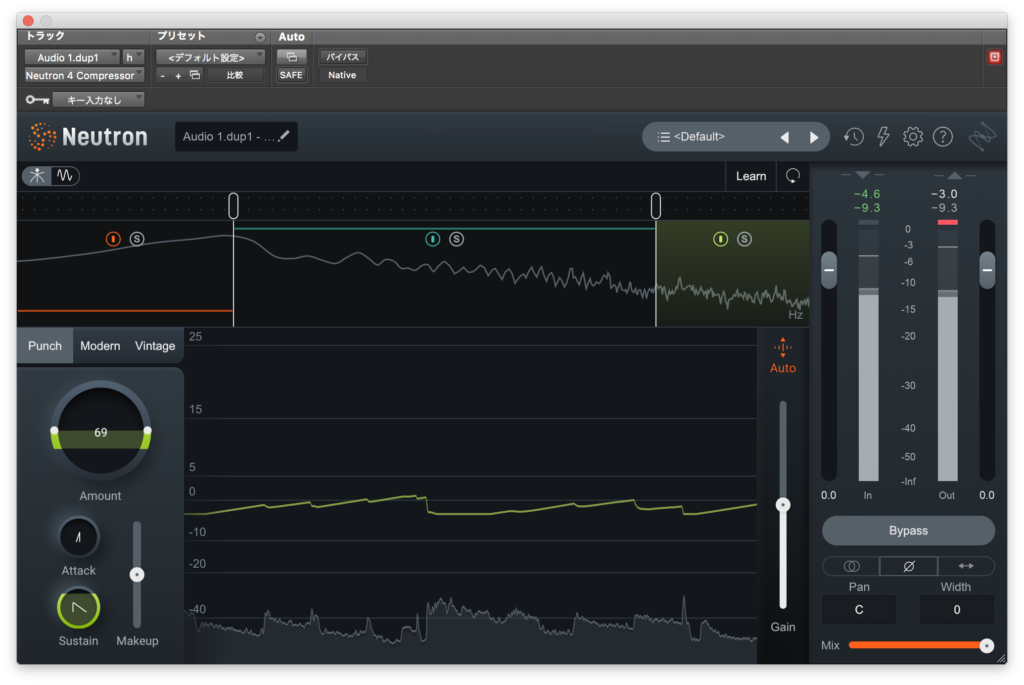
上の画面のように3つに帯域を分けてそれぞれ独立した設定ができるのでほぼマルチバンドコンプレッサーのように使えます。
Modern、Vintageと比較してみましょう。

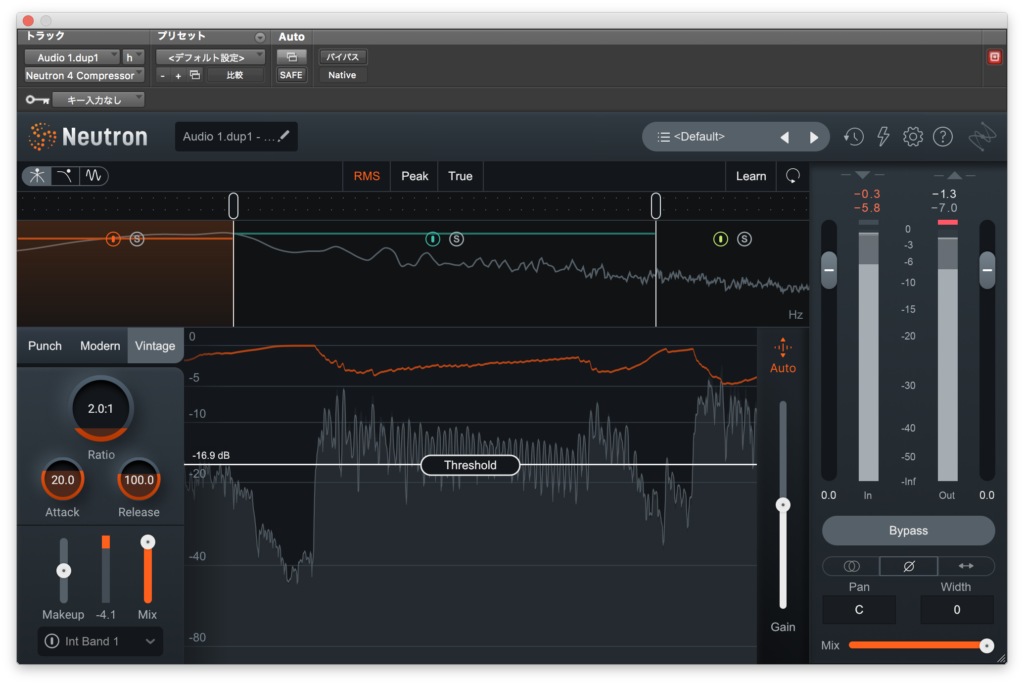
Modernが柔らかでVintageは押し出しが強いような気がしますね。
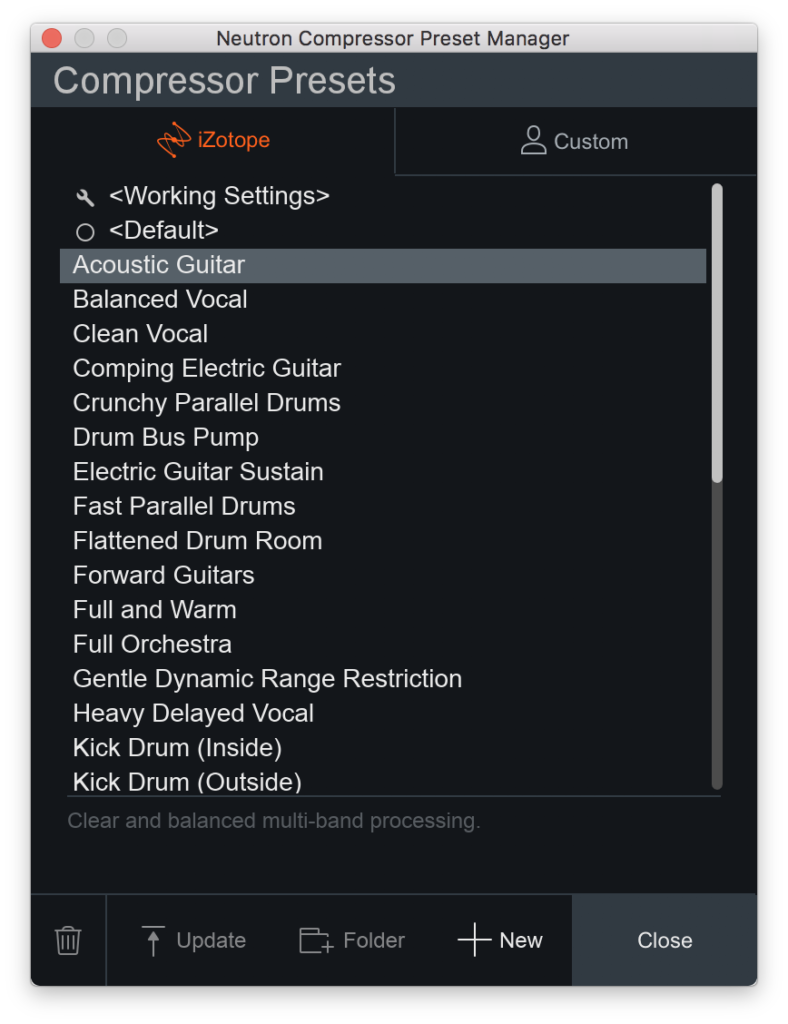
プリセットはこんな感じ↓
最後にプリセットからAcoustic Guitarを試してみます。
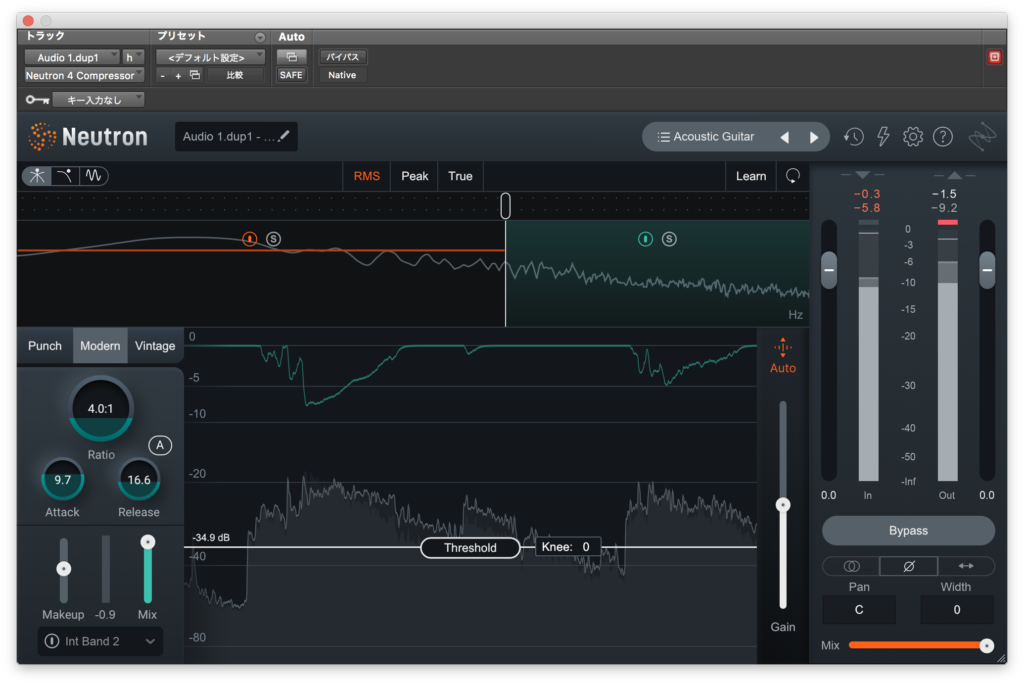
なんか違和感があるので手直ししてみました。
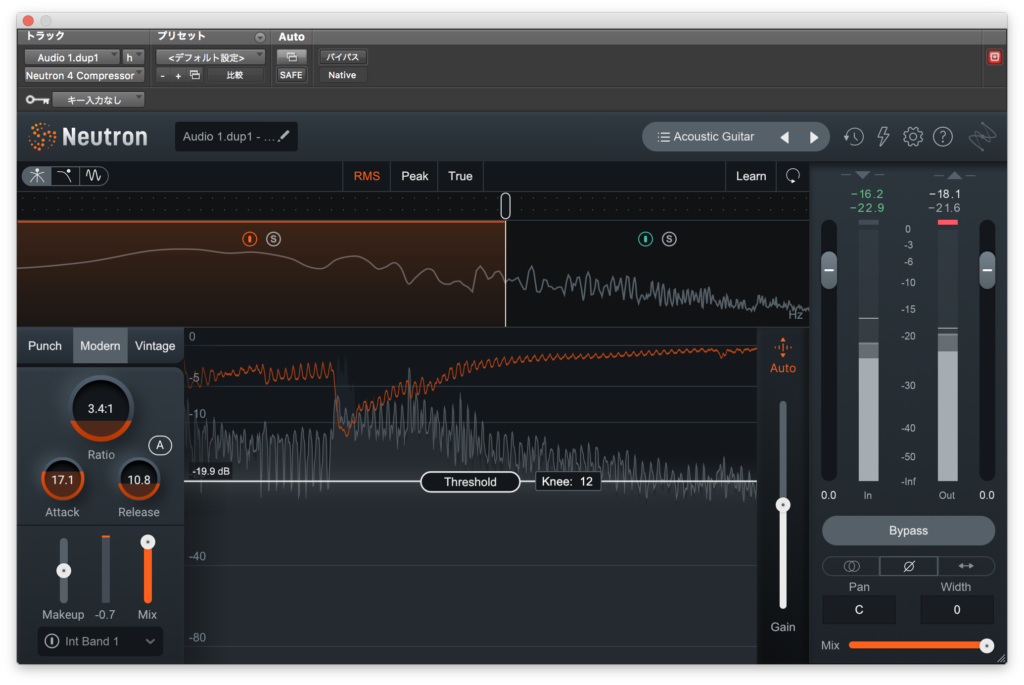
さっきよりはマシになったかなと思います。
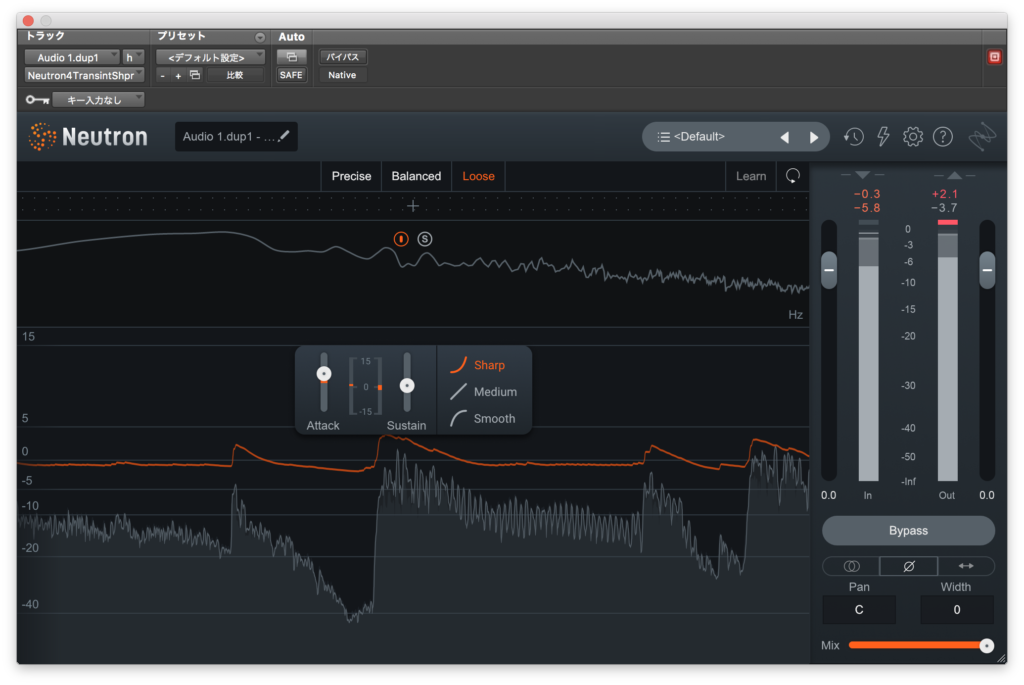
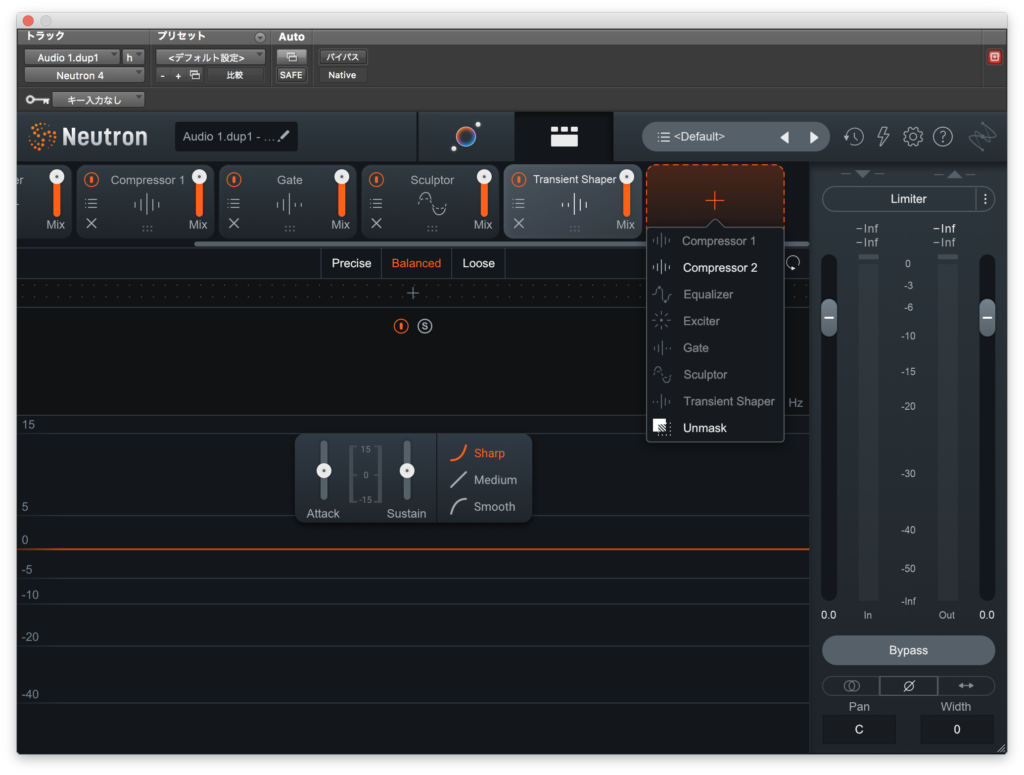
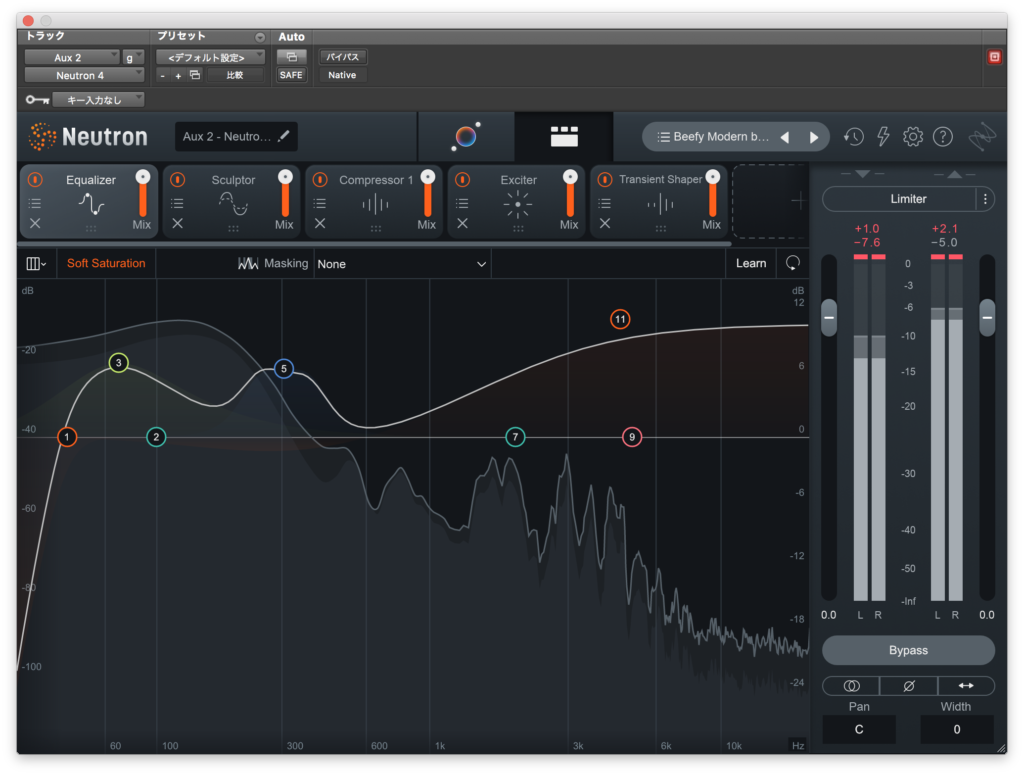
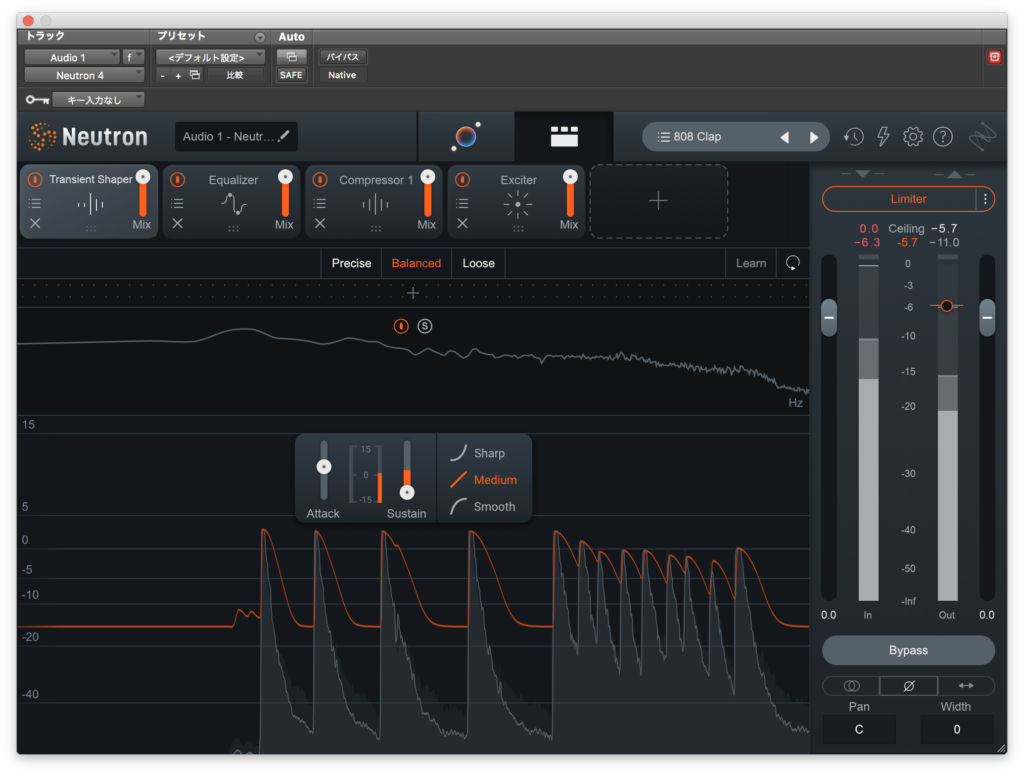
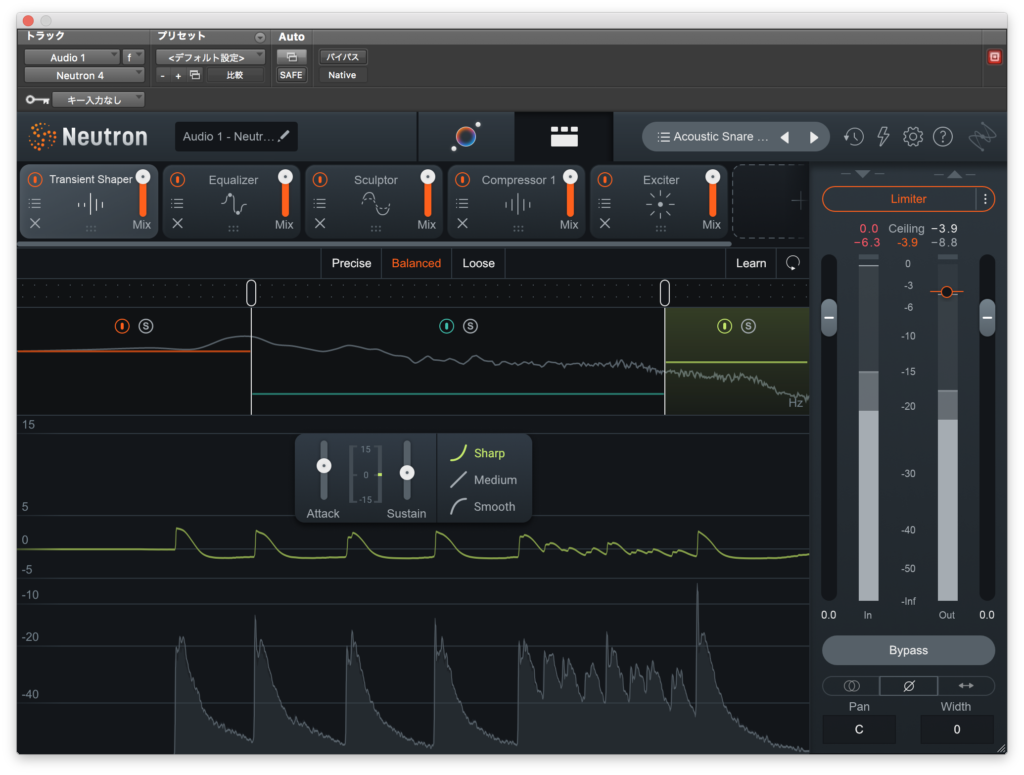
Transient Shaper
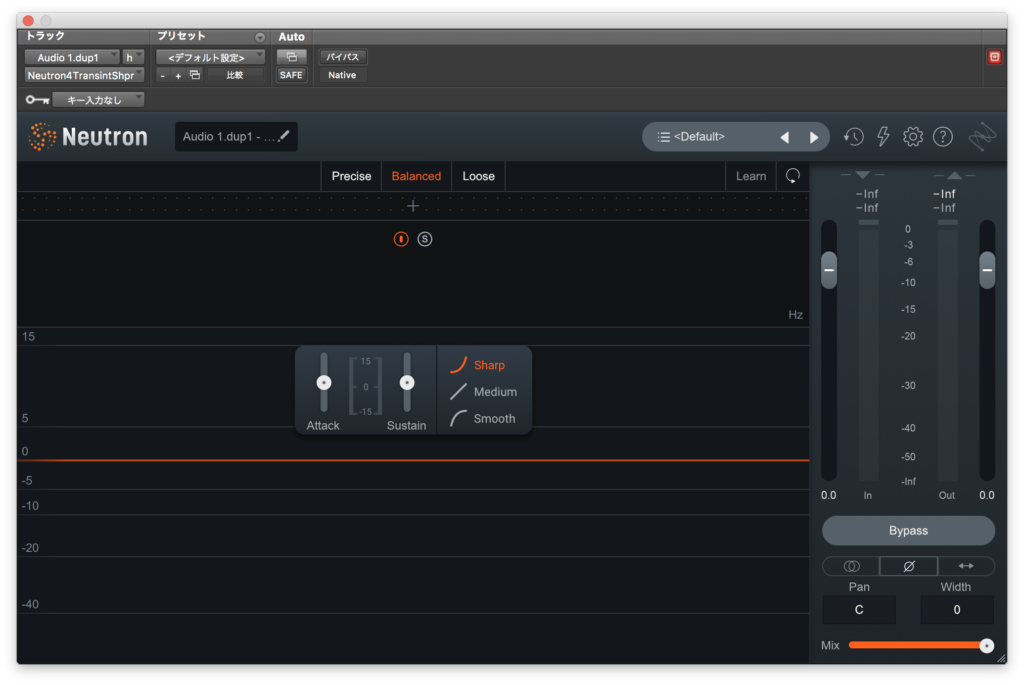
シンプルなトランジェントシェイパーですね。
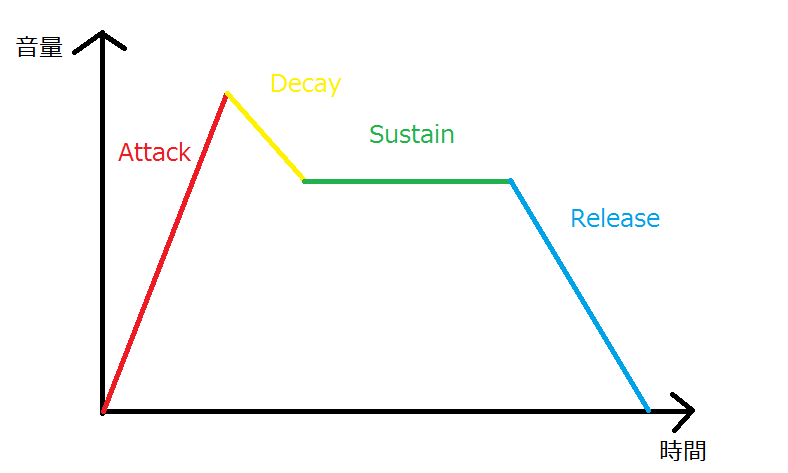
Attackでアタックの音量が、Sustarinでサステイン部の音量をコントロールします。
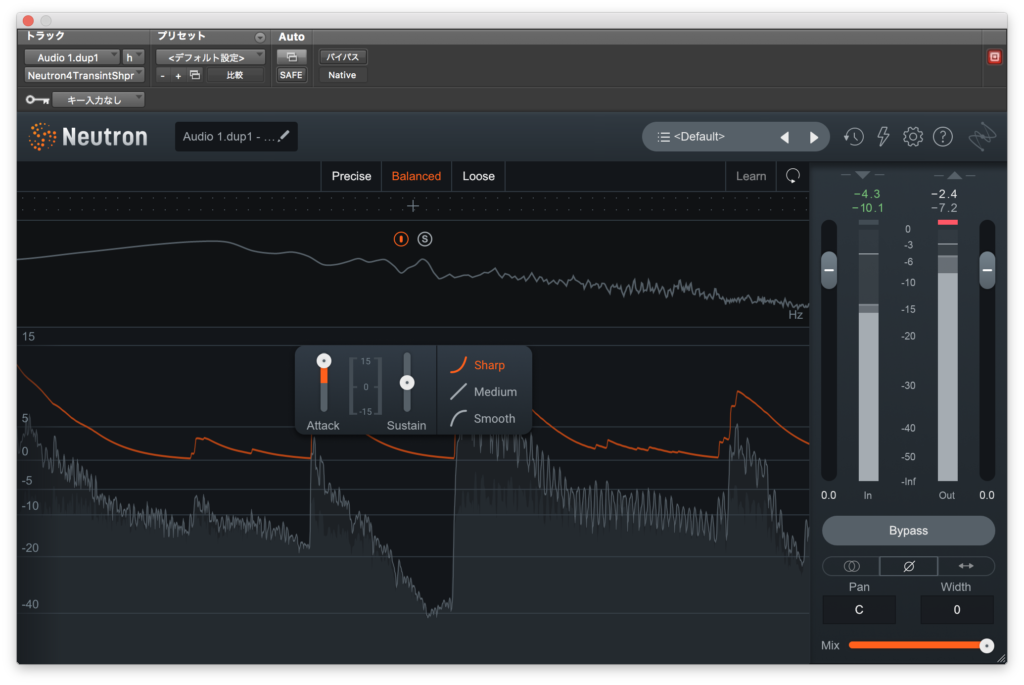

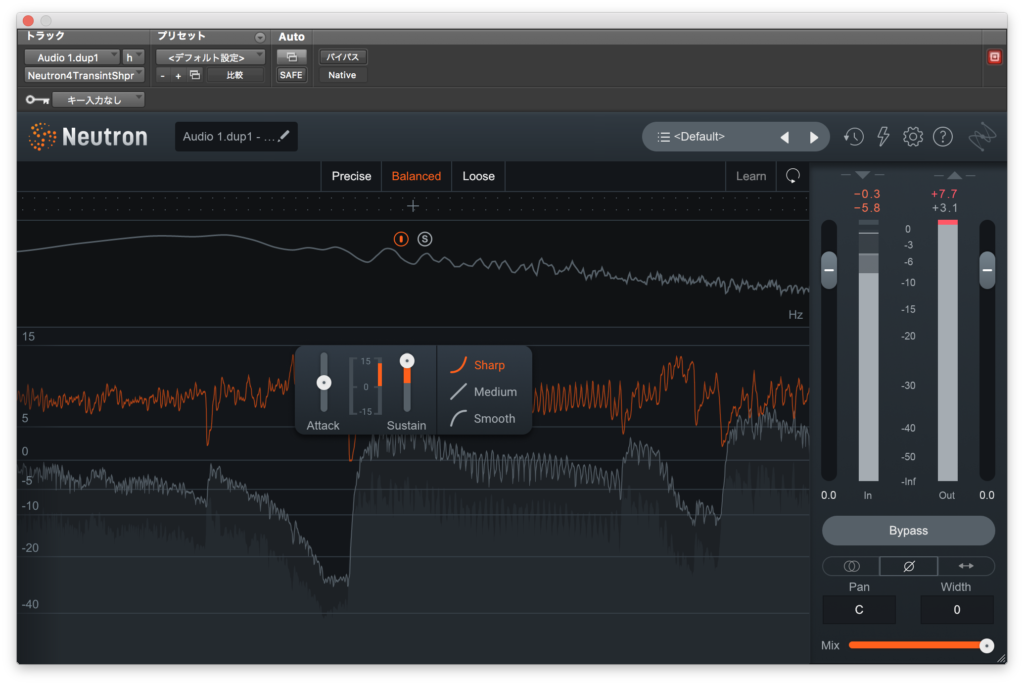
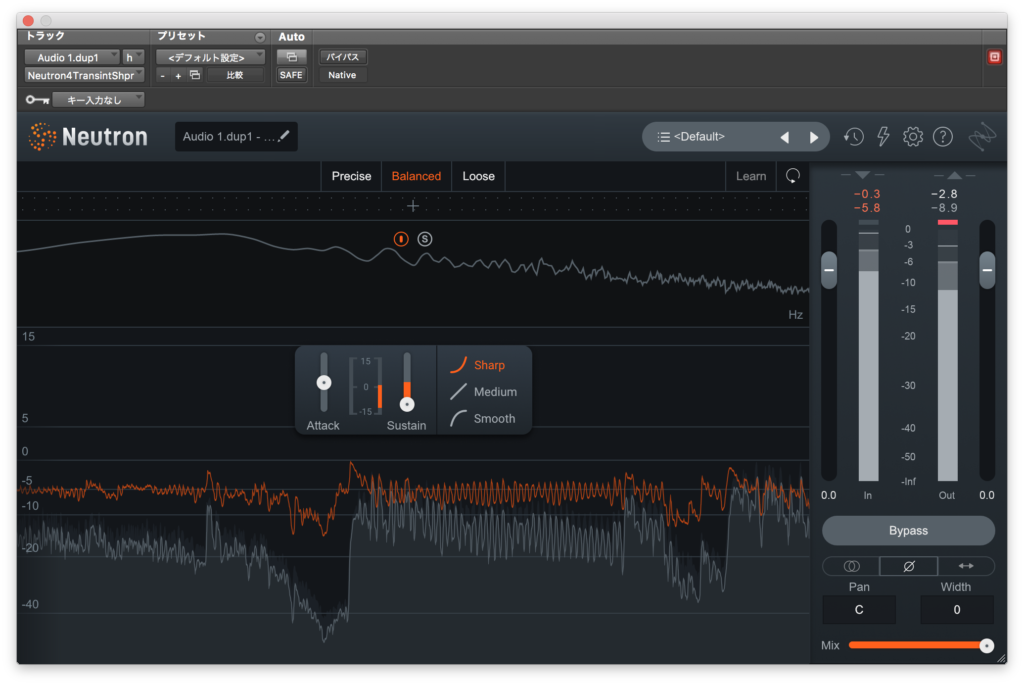
Sharp、Medium、Smoothの3つのエンベロープがあるのでそれぞれ適当な設定で試してみます。
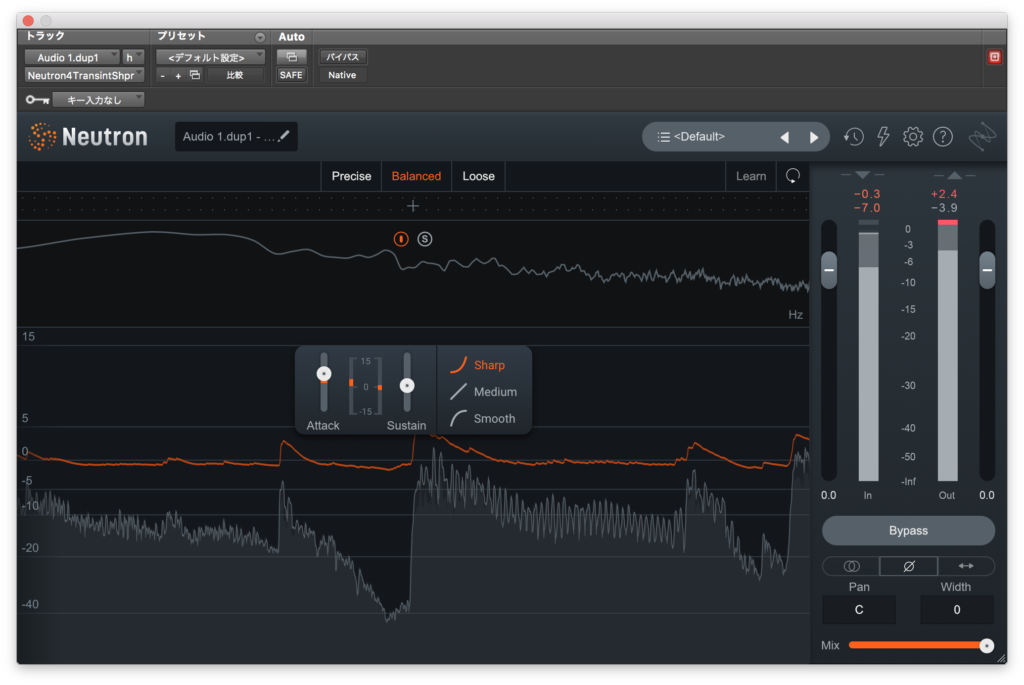
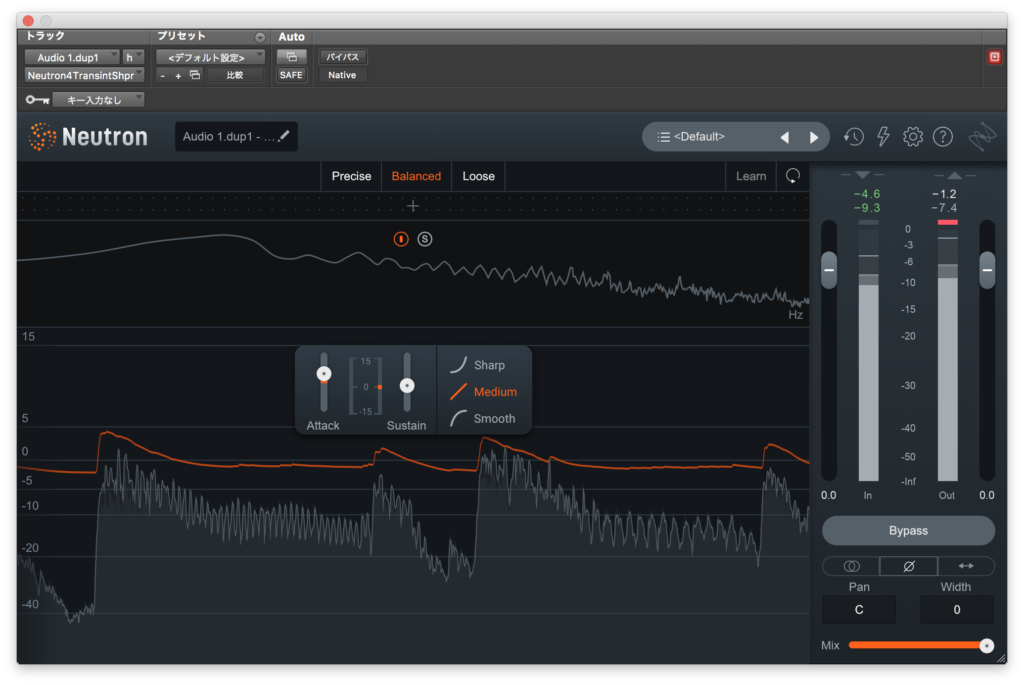
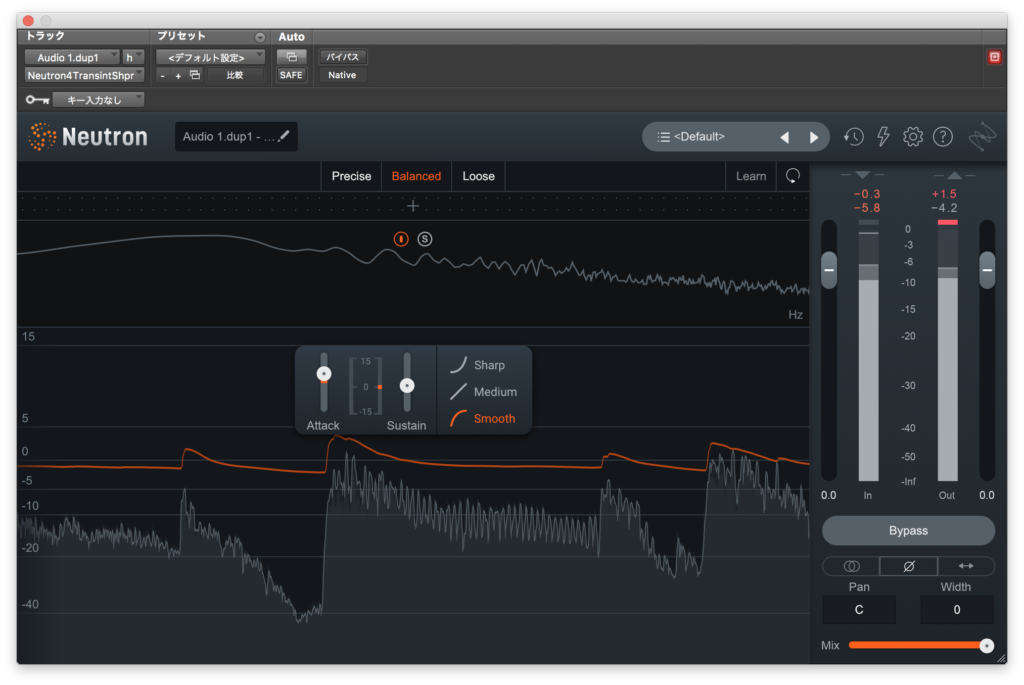
上のPreciseとBalanced、Looseでもエンベロープに変化があるようです。
SharpでBalanced、Looseを試してみます。

こちらもコンプレッサーと同様バンドを分けて独立した設定ができるようになっています。

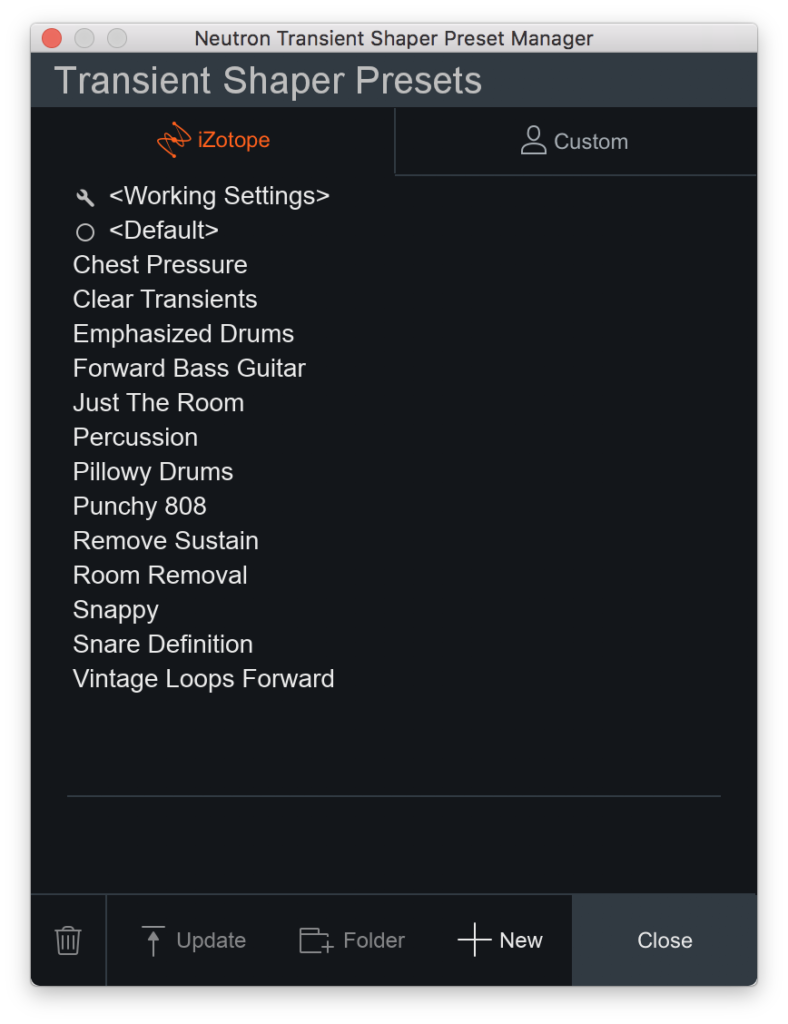
プリセットはこんな感じです。
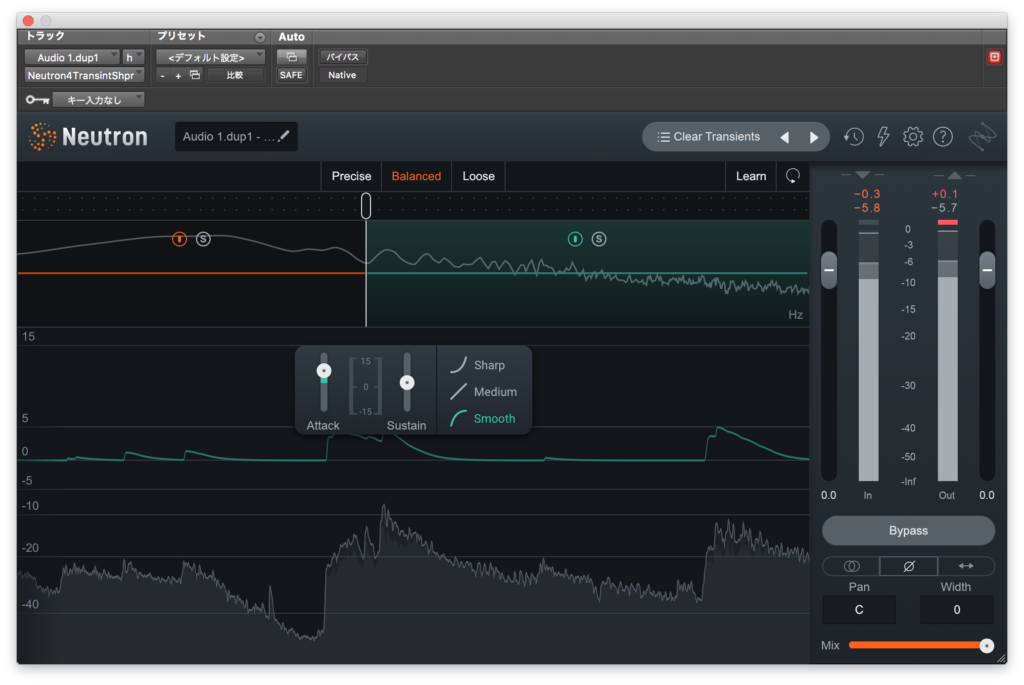
最後にここからClear Transientsを試してみます。
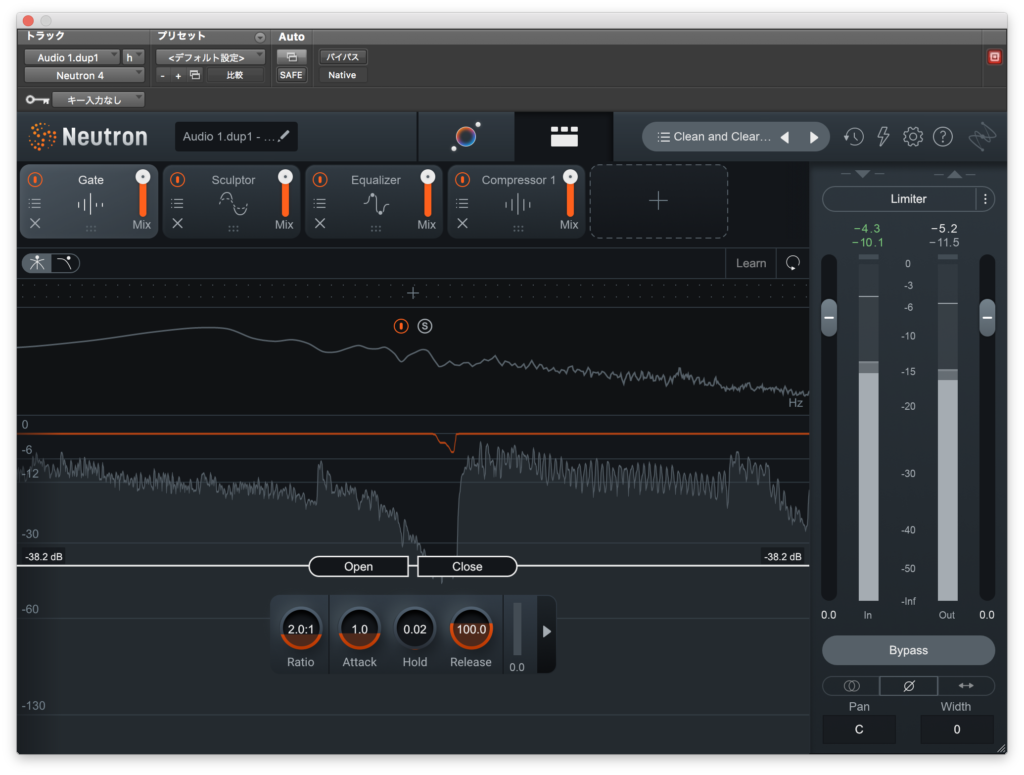
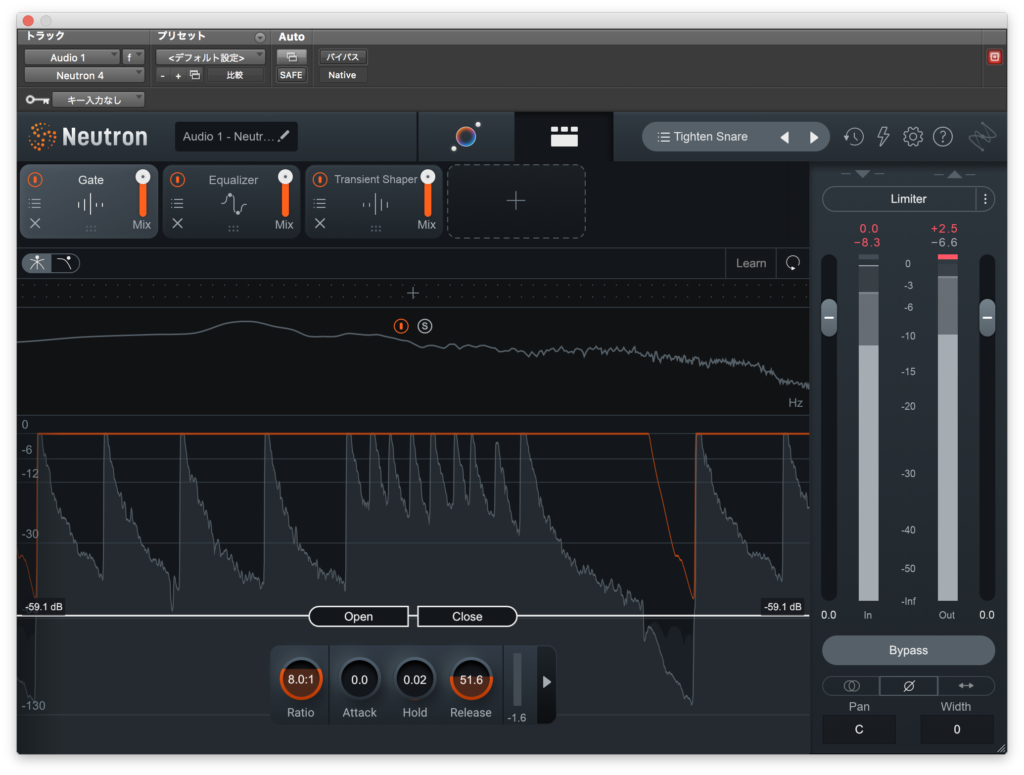
Gate
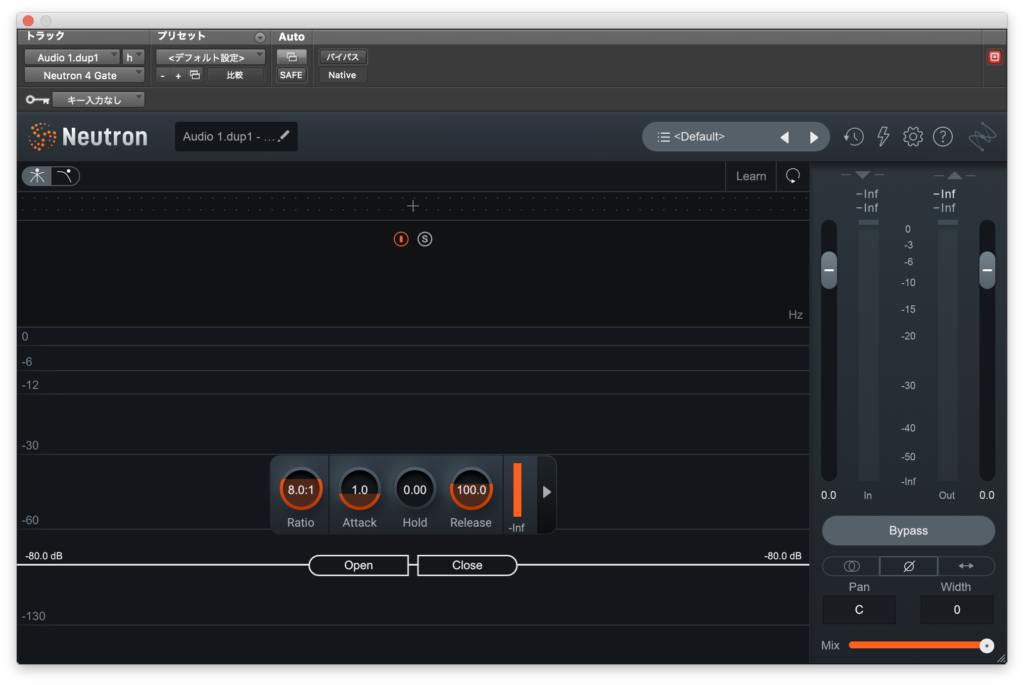
Ratioで音を小さくする速度(割合)を、Attackでゲートを開く早さ、
Holdでは音がThresholdを下回ってからゲートが閉じる始めるまでの時間にディレイをかけます。
Releaseはゲートが閉じる早さを設定します。
ゲートが開くThresholdとゲートが閉じるThresholdはそれぞれ別々に設定することもできます。
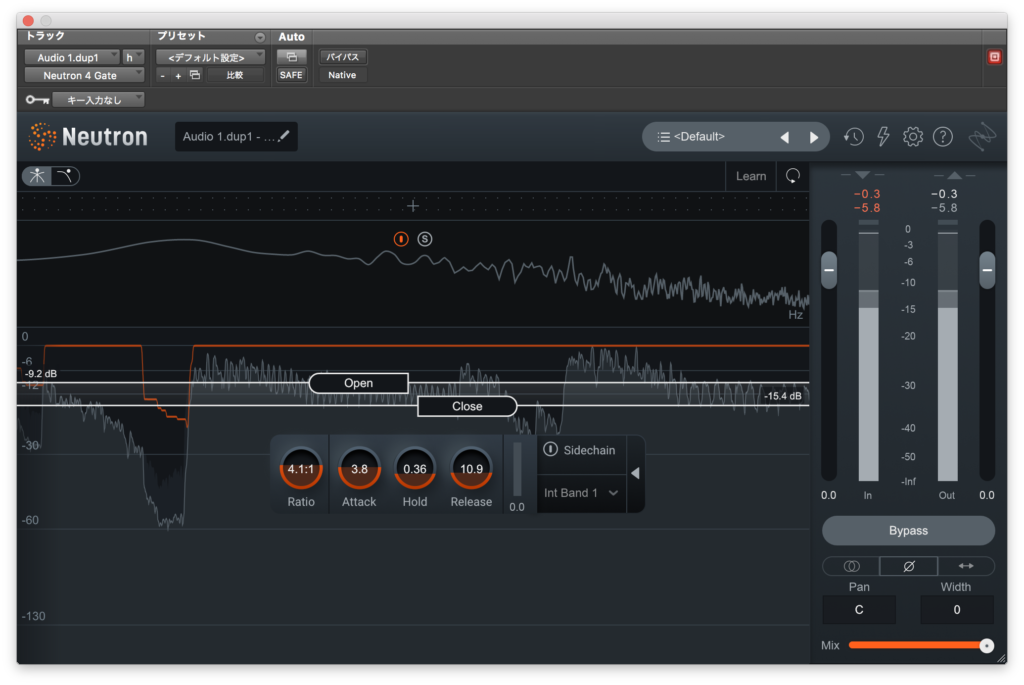
Gate単体のプラグインって意外とみないので(チャンネルストリップにはよくある)助けになるかもしれませんね。
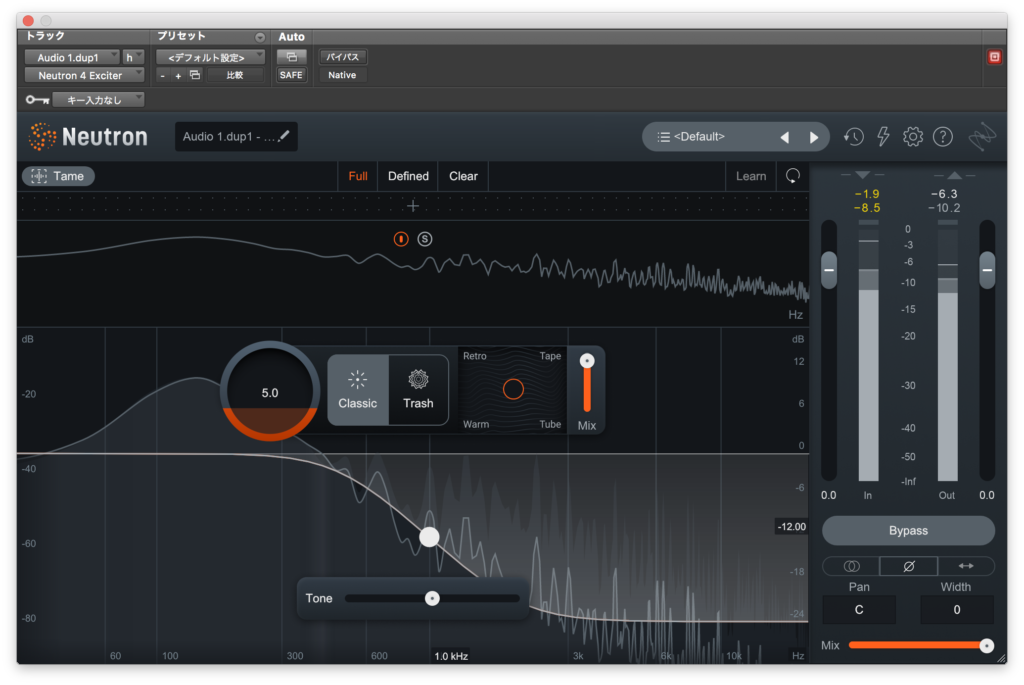
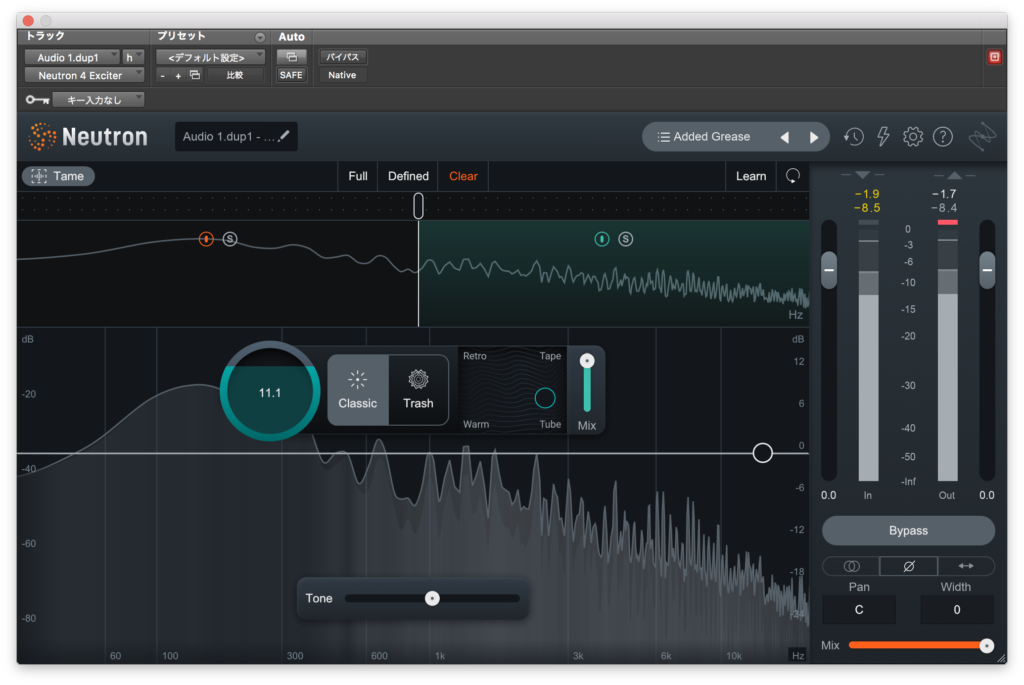
Exiciter
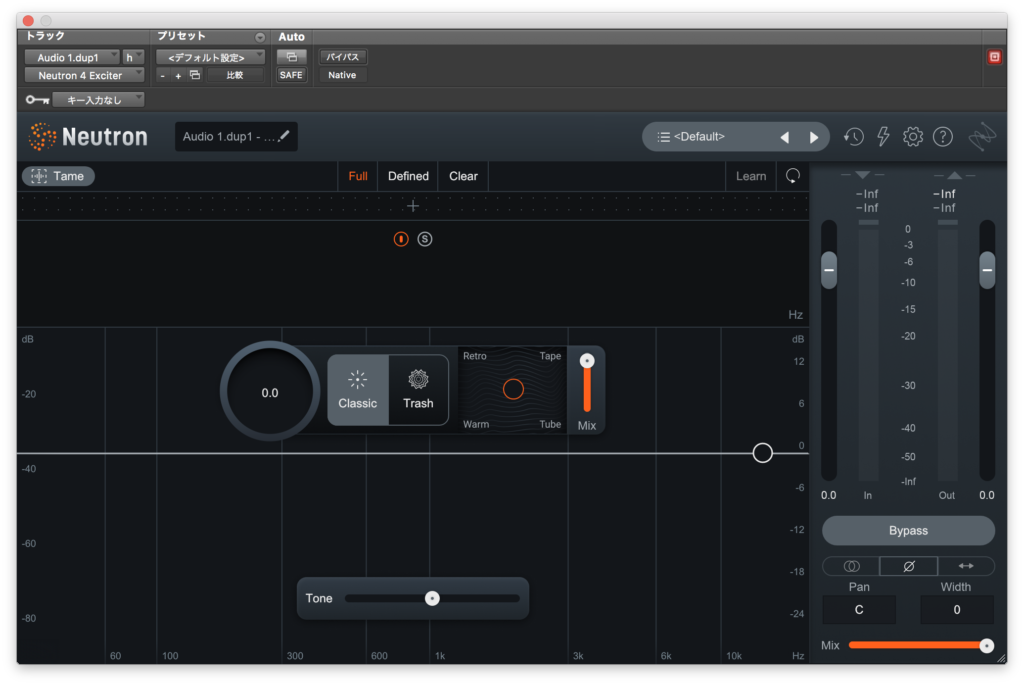
最後にエキサイターです。
まず、左の丸いパラメーターで倍音付加の強度を決めます。
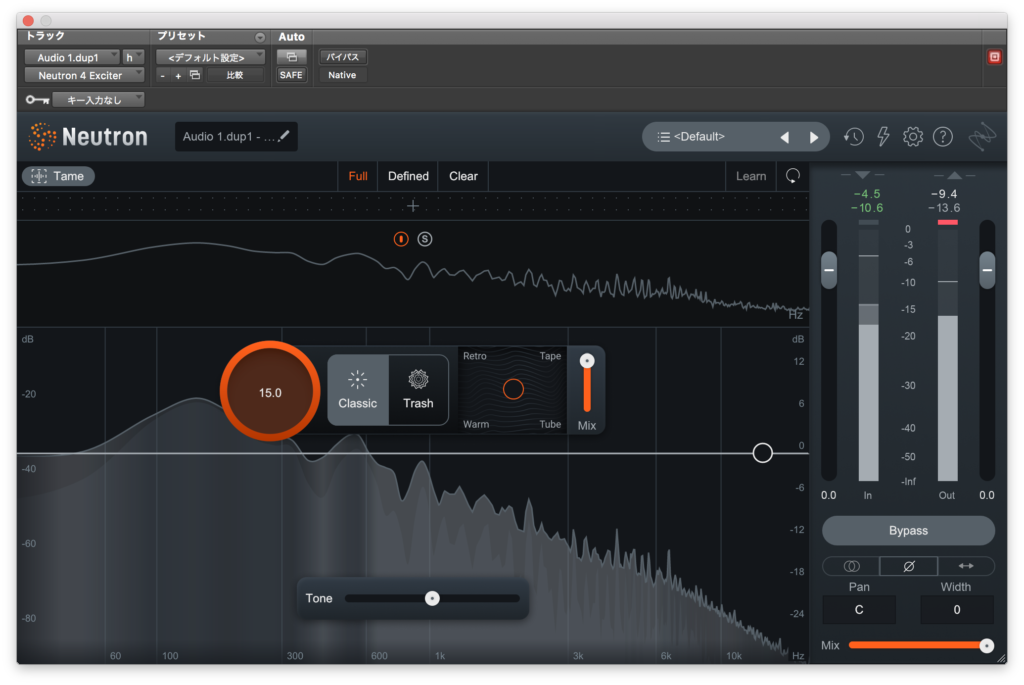
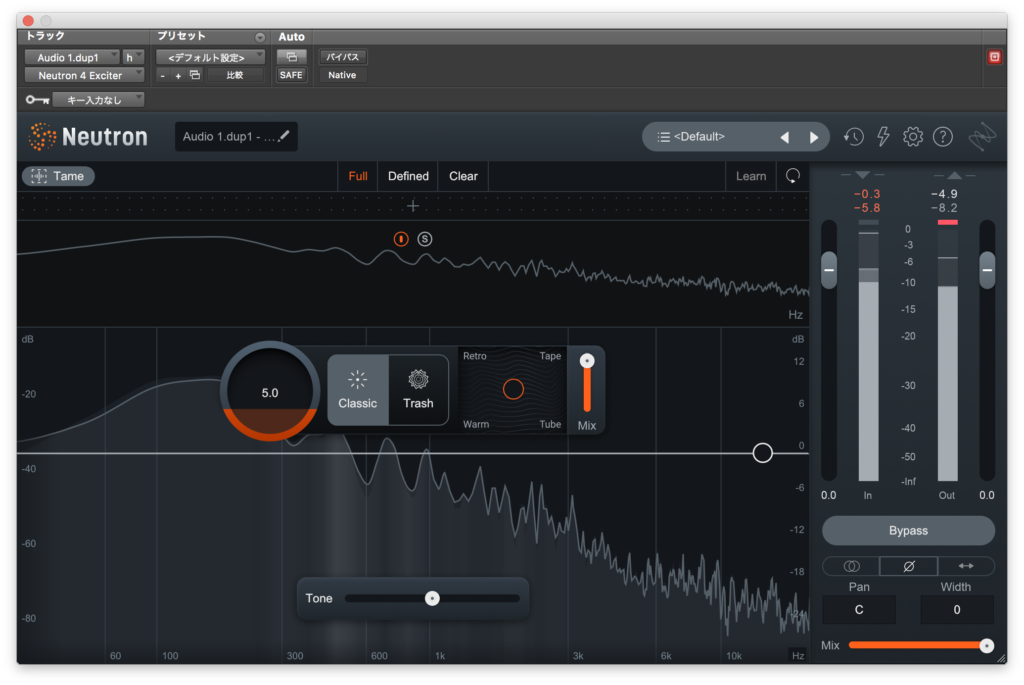
とりあえず今回は5でサンプルにしてみようかなと思います。
Toneで高域の倍音量を調整します。
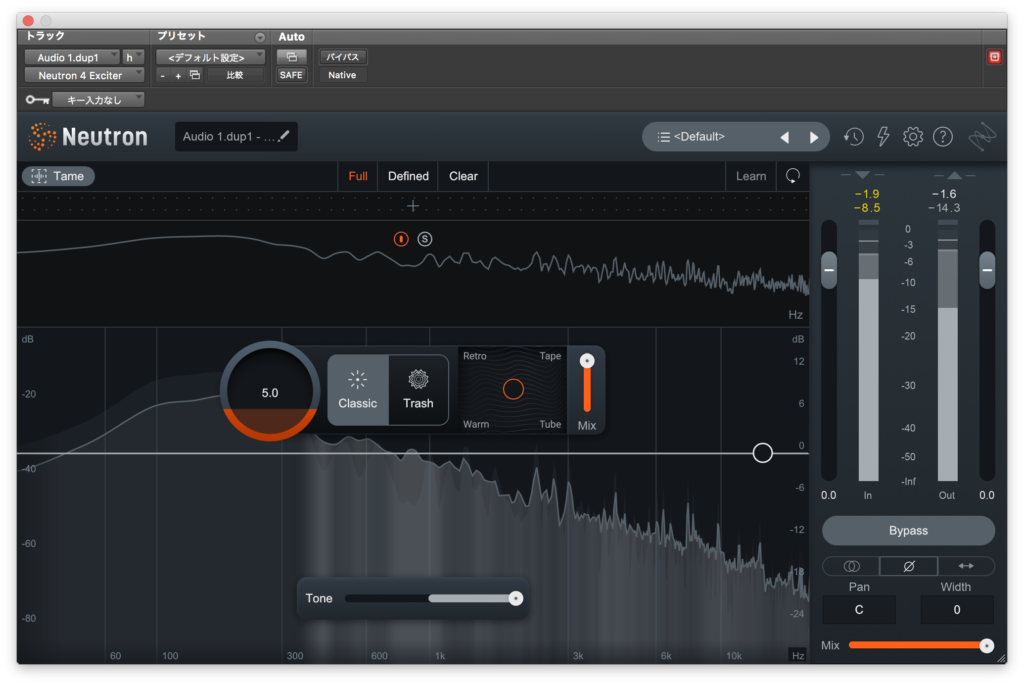
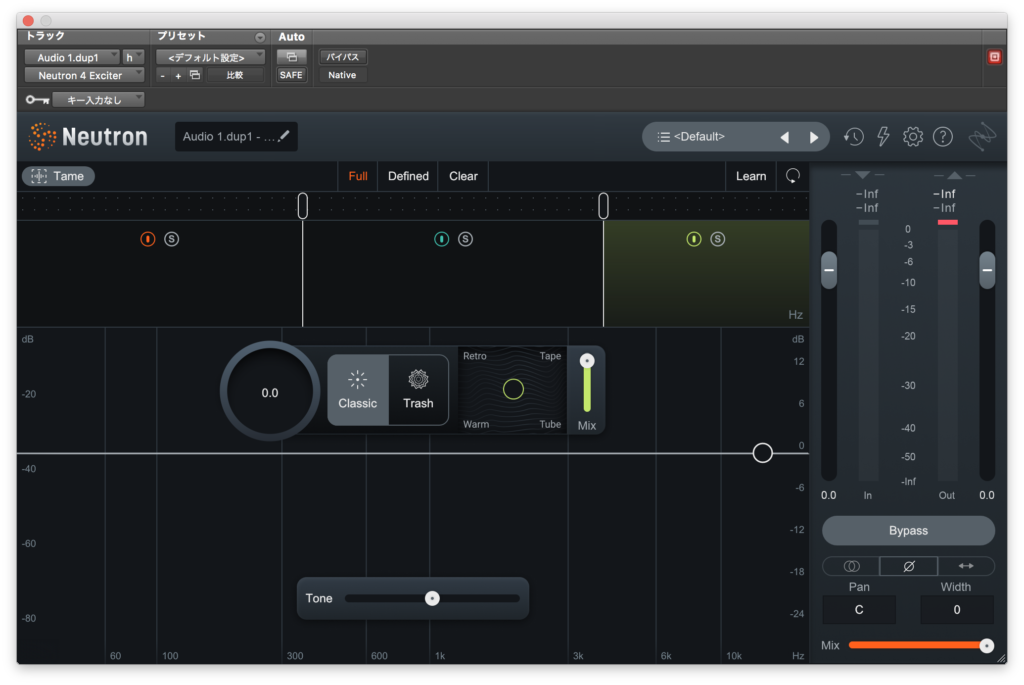
右のRetro、Tape、Warm、Tubeで倍音の付き方が変わるようです。
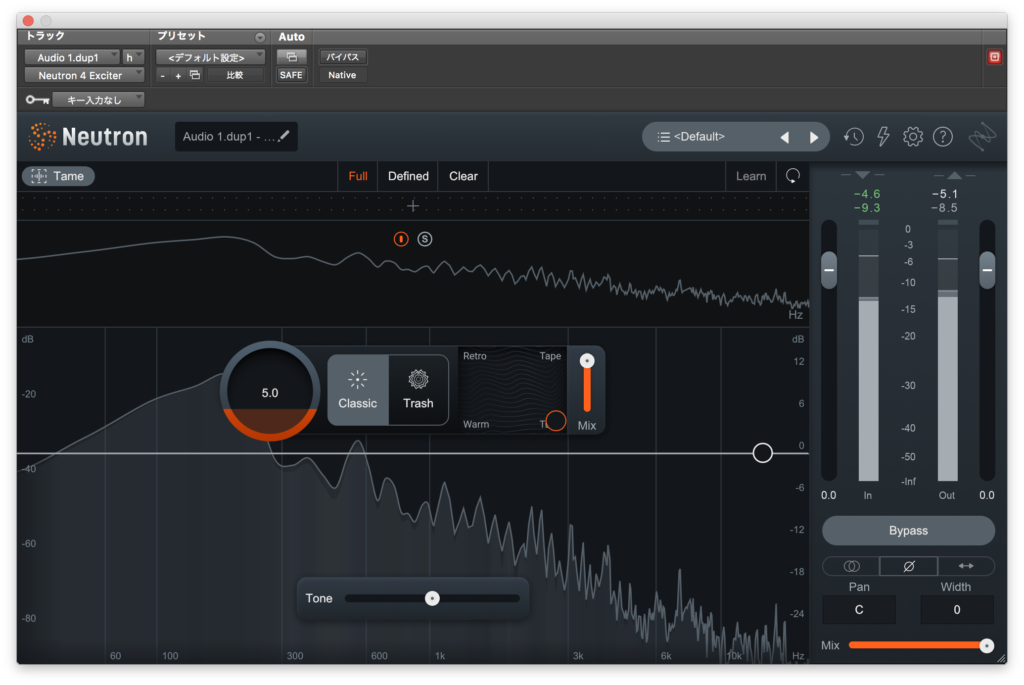
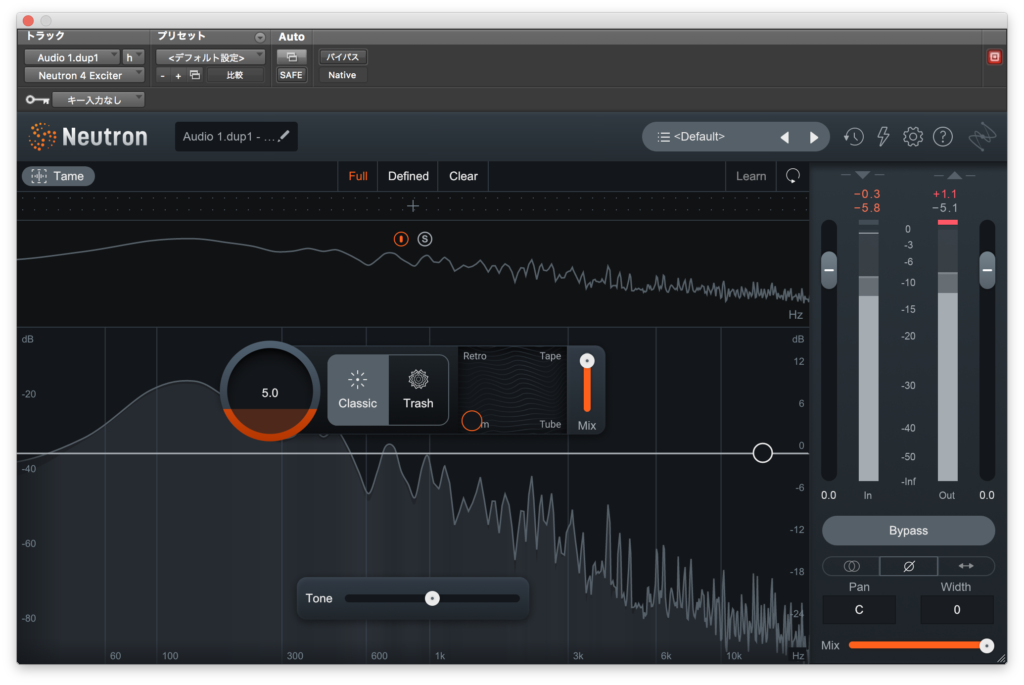
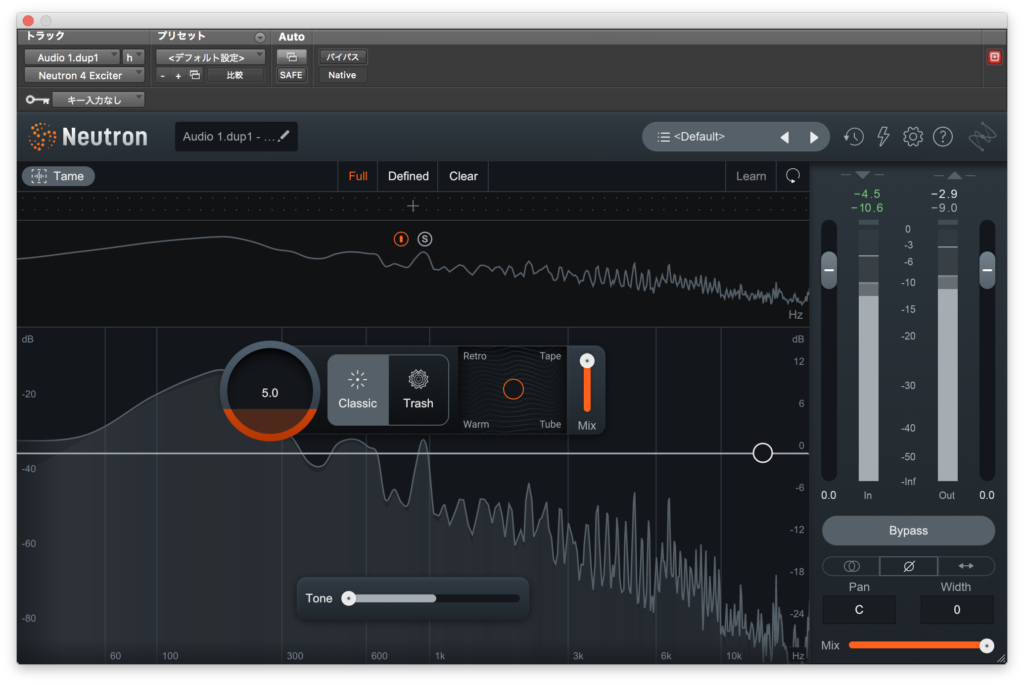
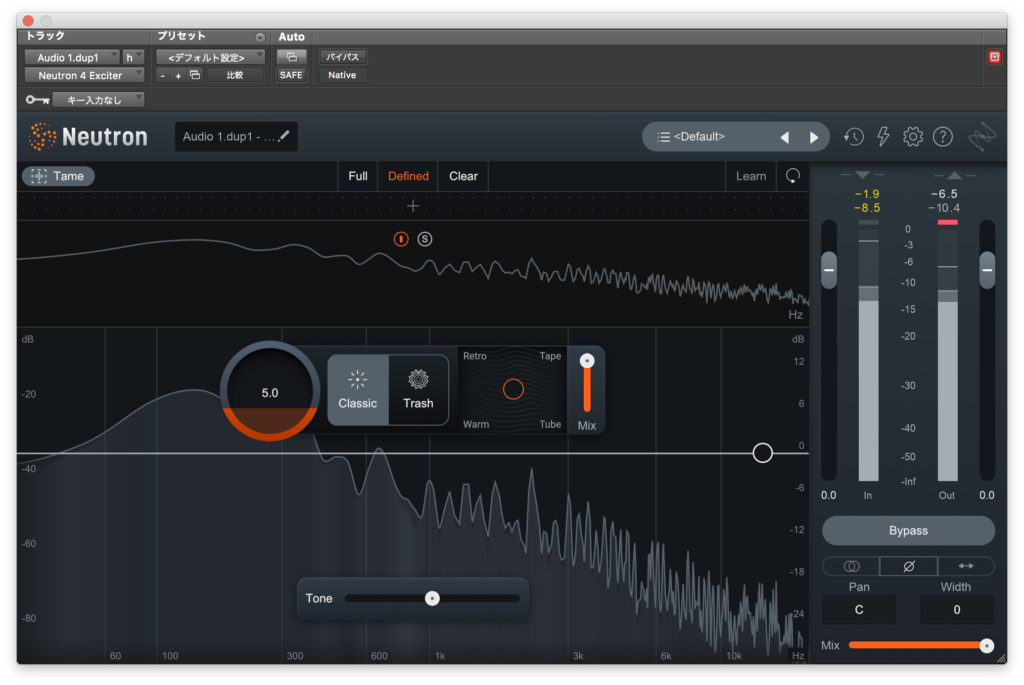
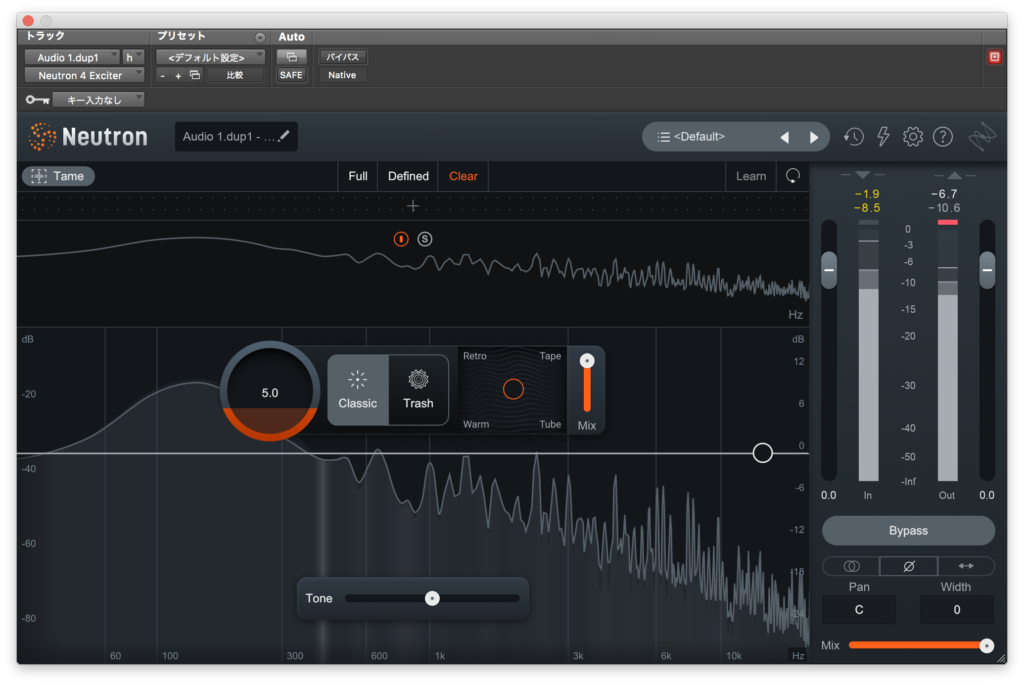
上のFull、Defined、Clearは強調する帯域が違うようです。
FullはLow midが強調され、DefinedはHigh Midが強調されます。ClearはLow Midがやや減衰するようです。
カット方向のみに使えるハイシェルフフィルターもあります。
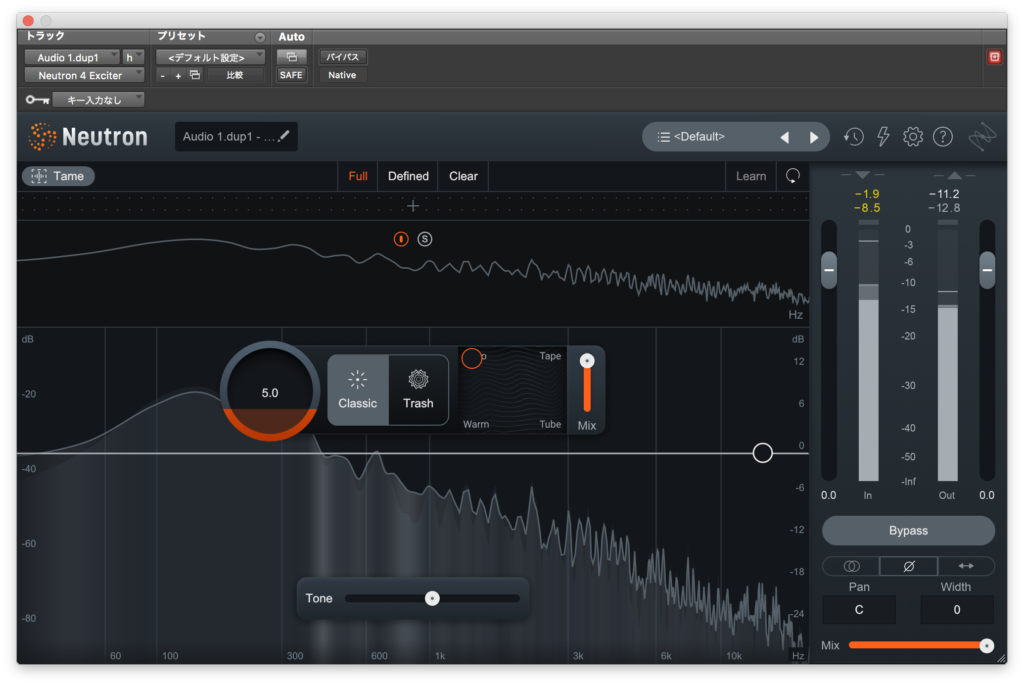
中央のClassicをTrashに変えると歪み方がかなり強くなります。
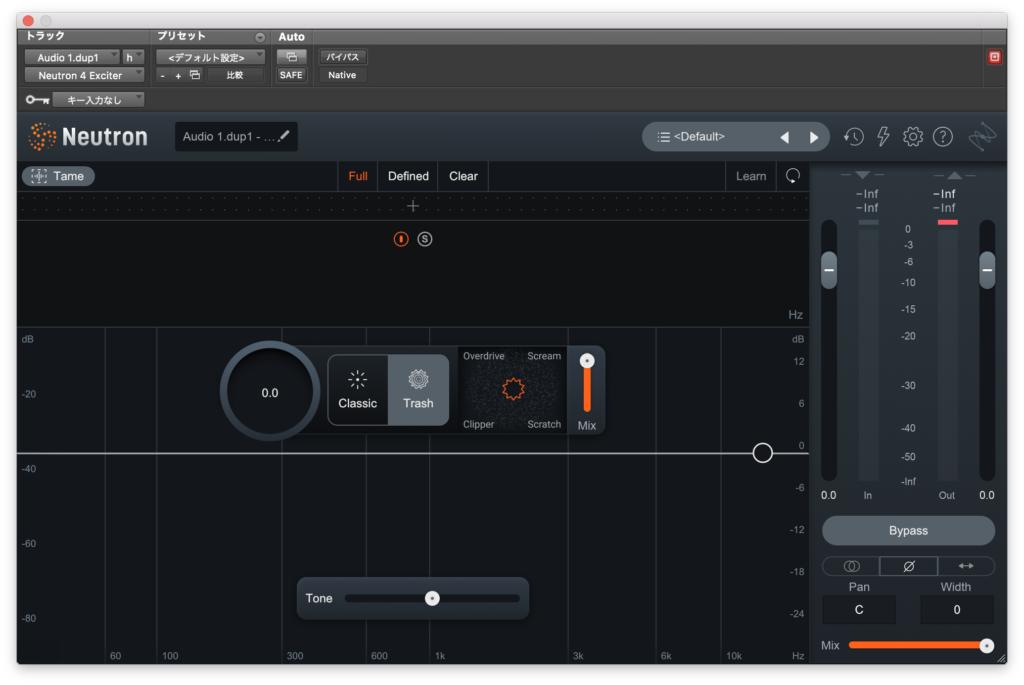
とりあえず、Overdrive、Scream、Clipper、Scratchを試してみます。
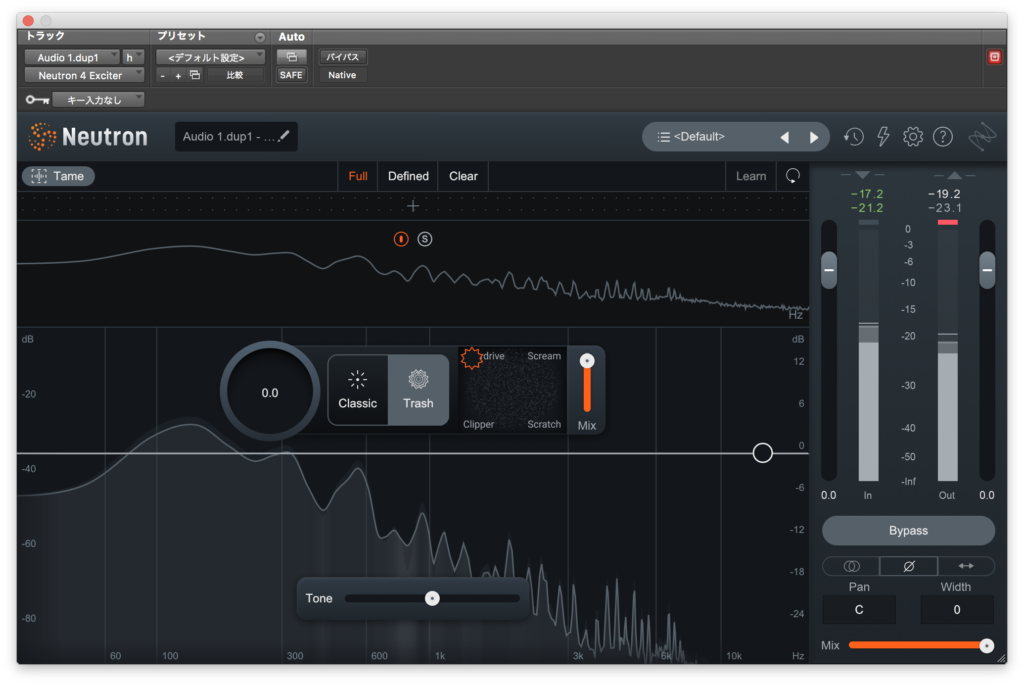
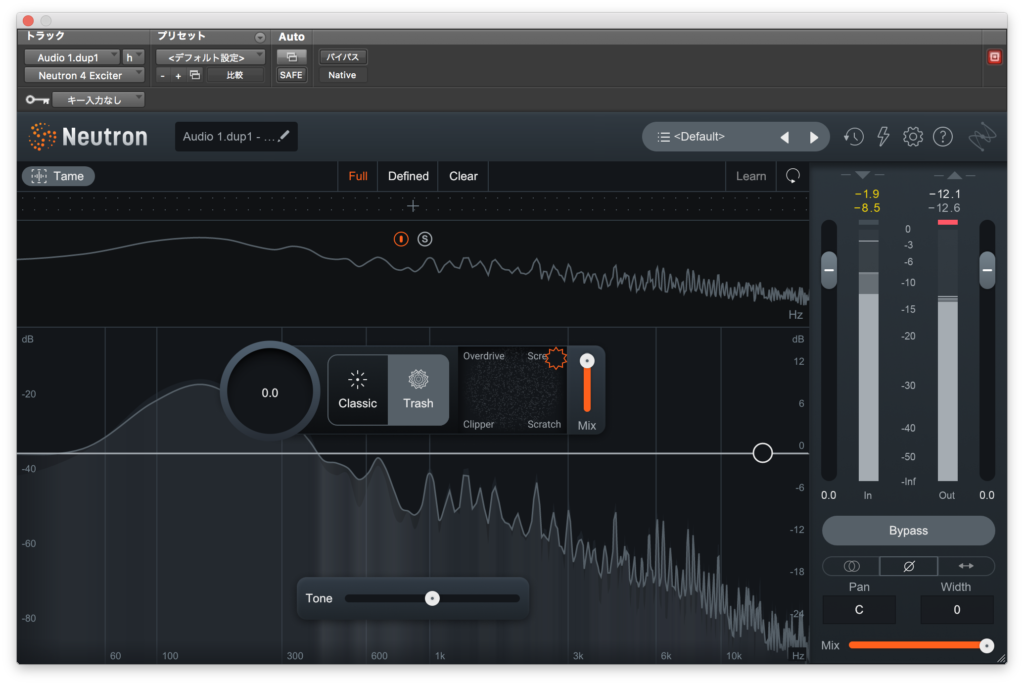
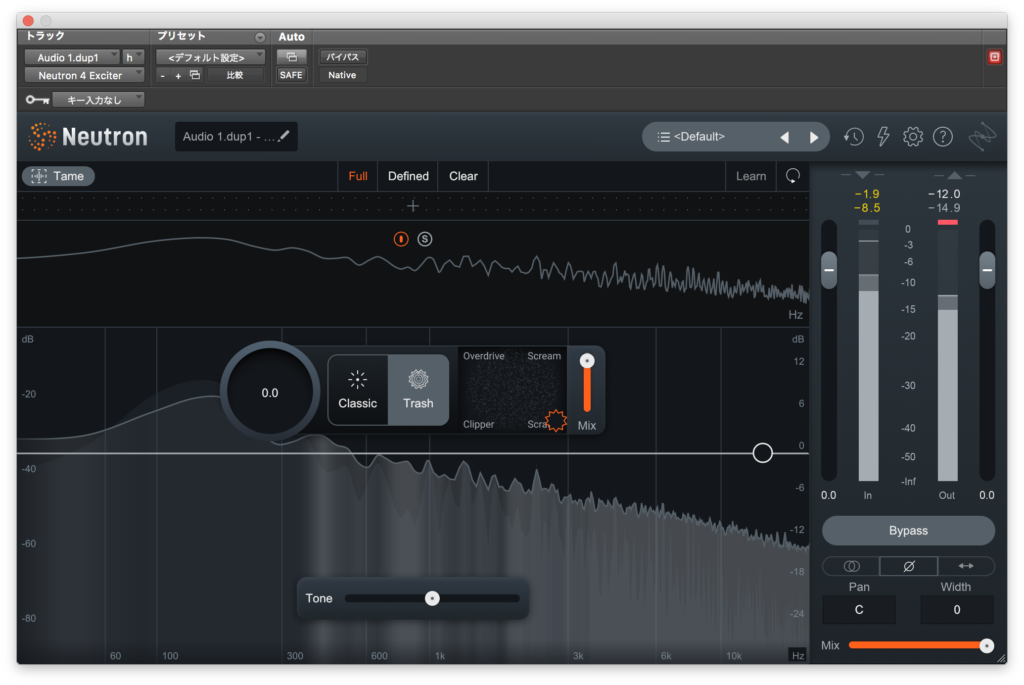
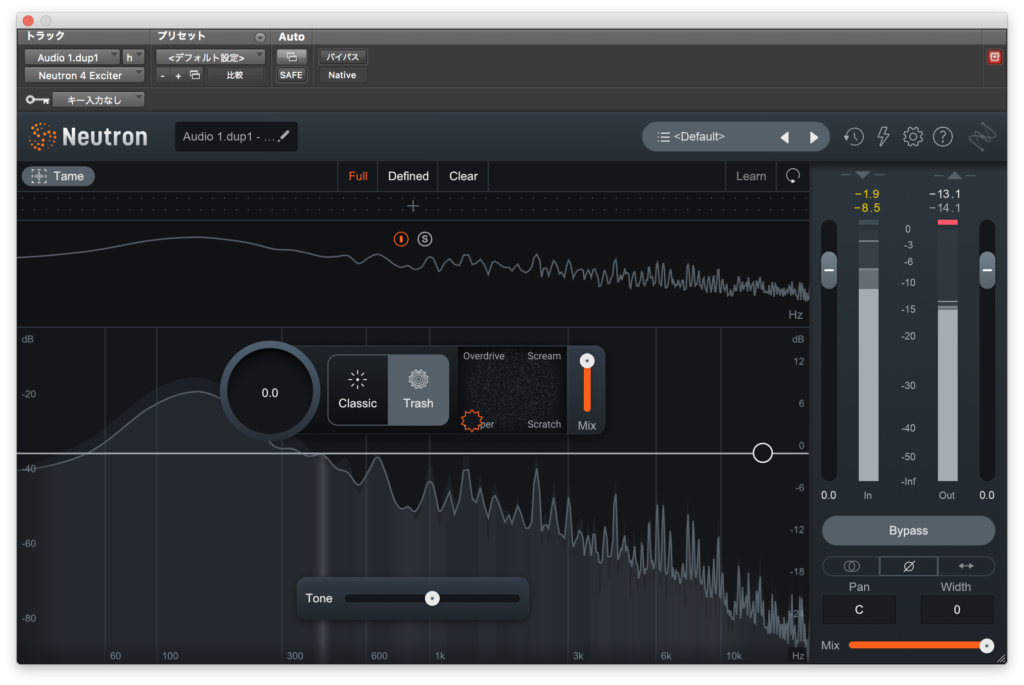
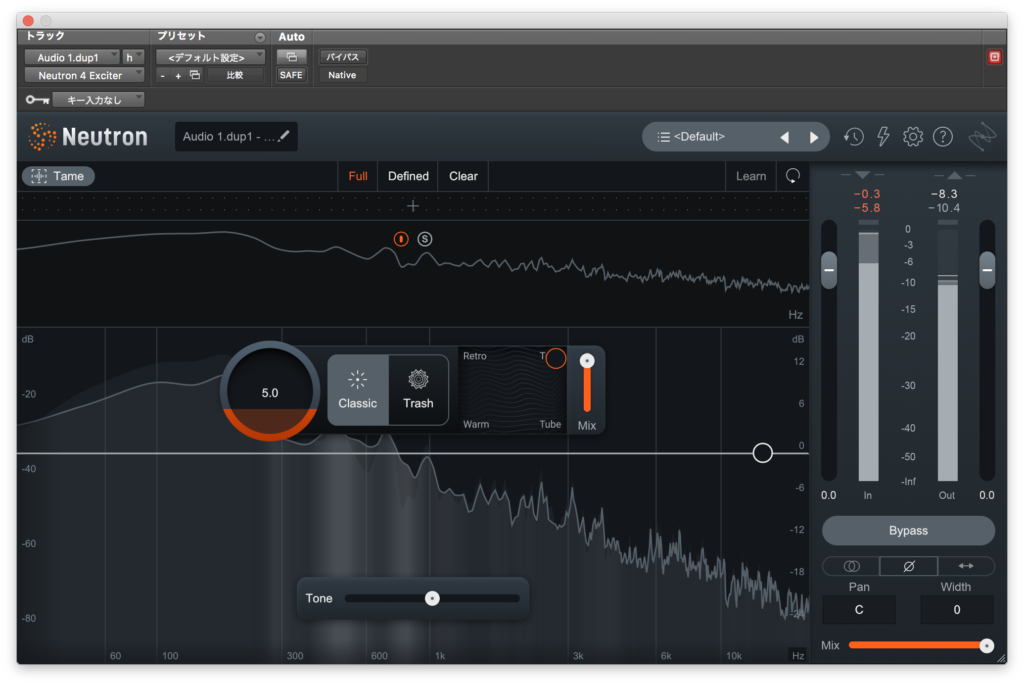
そしてこちらも例によって帯域を分けてそれぞれ独立させて設定することができます。
プリセットはこんな感じです。
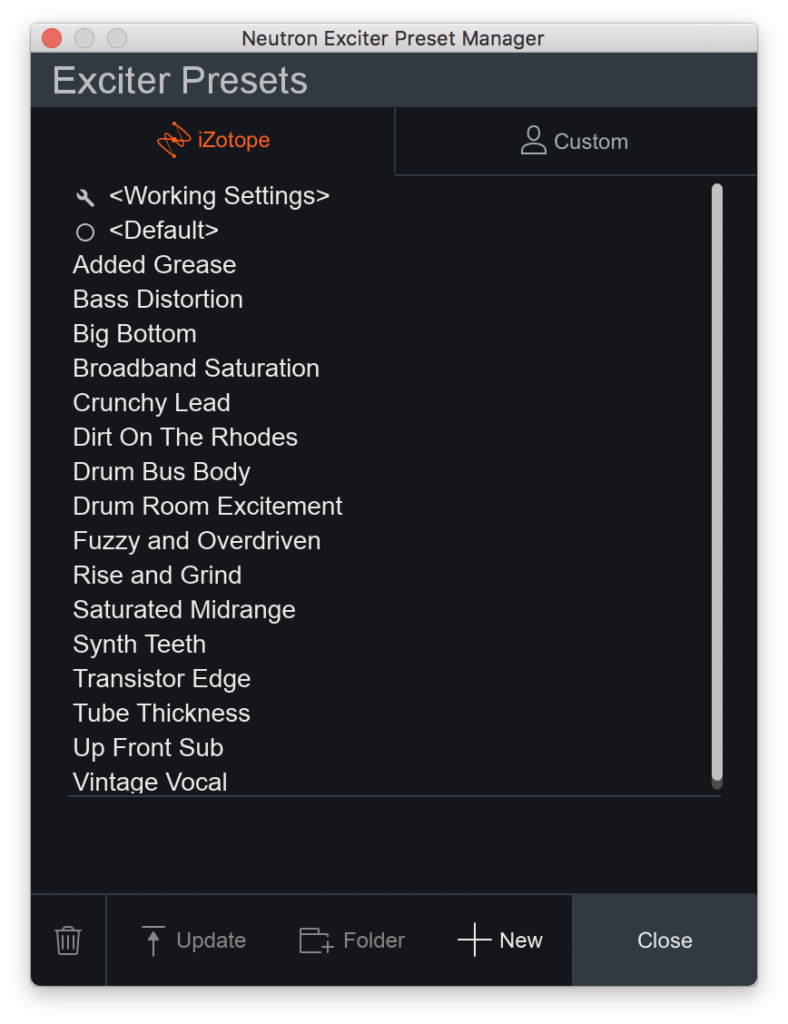
最後にこの中からAdded Greaseを試してみます。
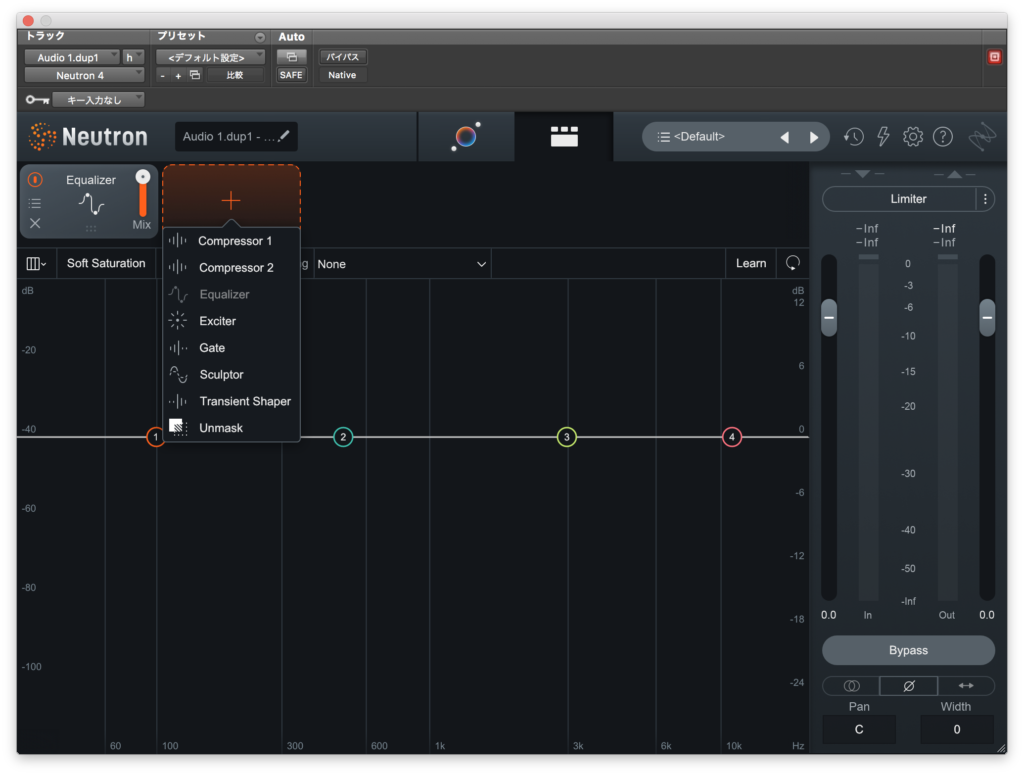
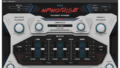
Neutron4 モジュール
Neutronではこれらを好きな順番で組み合わせて使うことができます。
豊富なプリセットが用意されています。
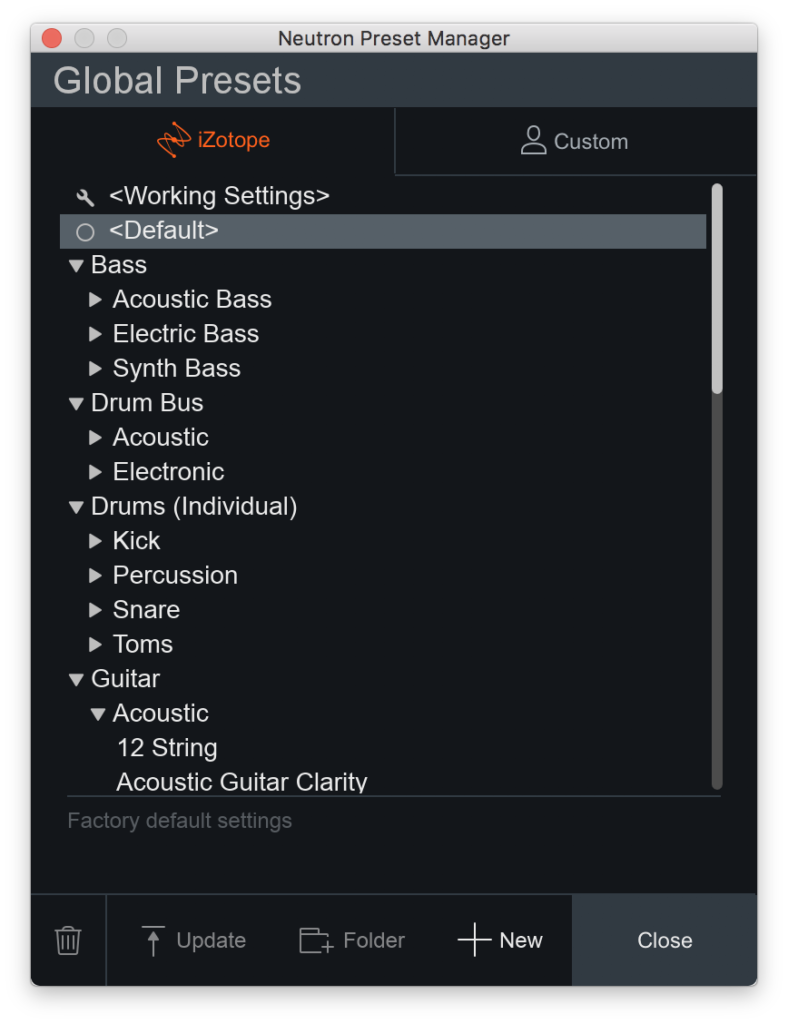

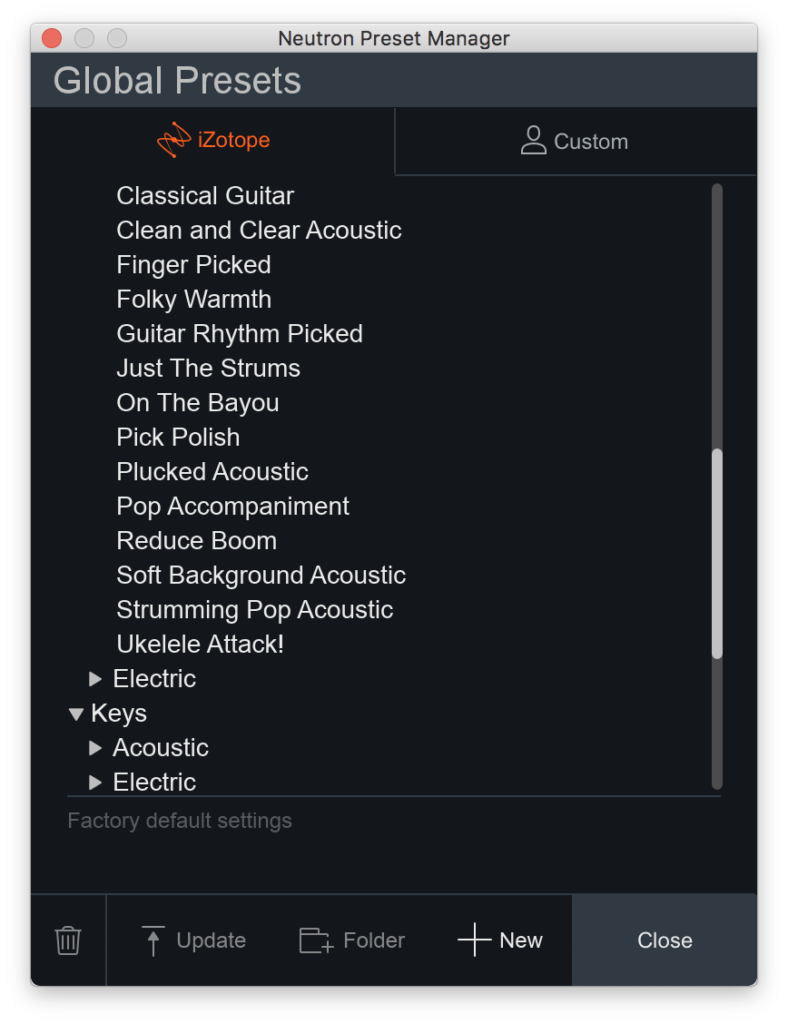
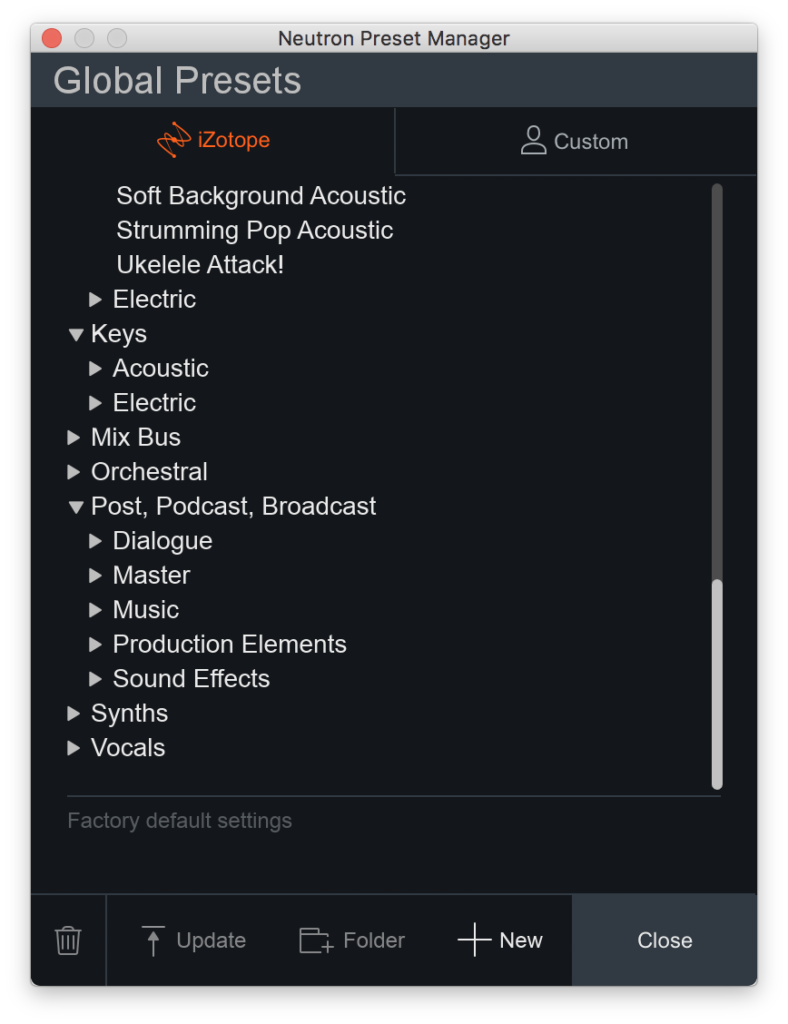
これのAcoustic Guitarのところからいくつか試してみます。
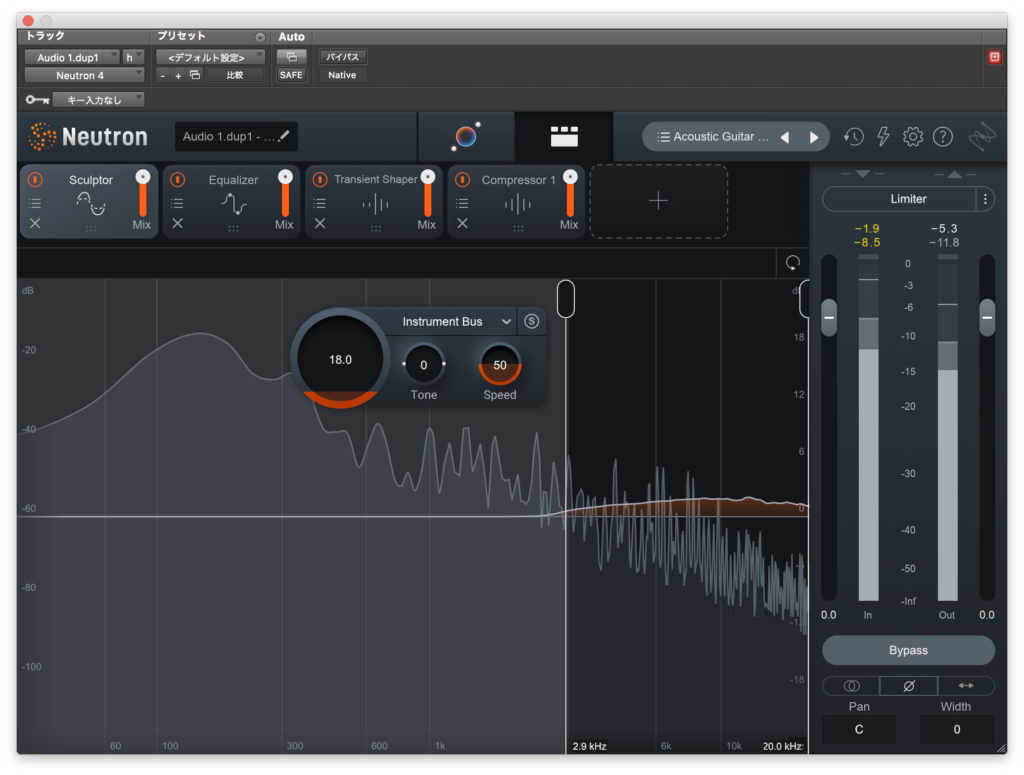
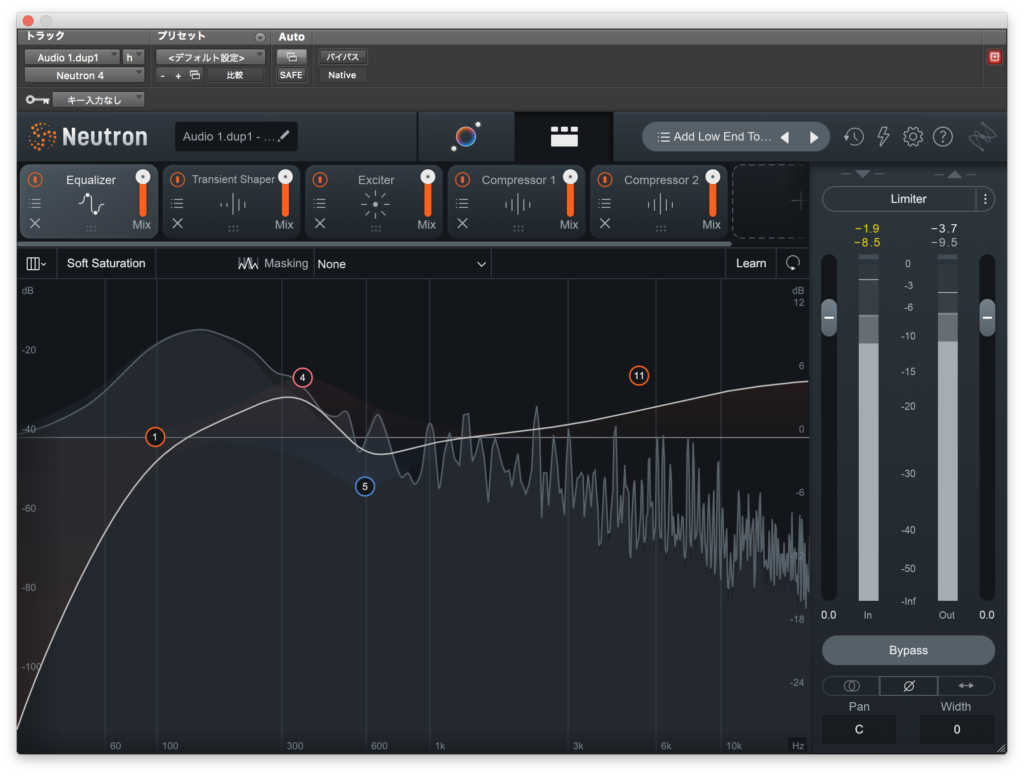

これだけ組み合わせの通りがあると色々な使い方が考えられますね。
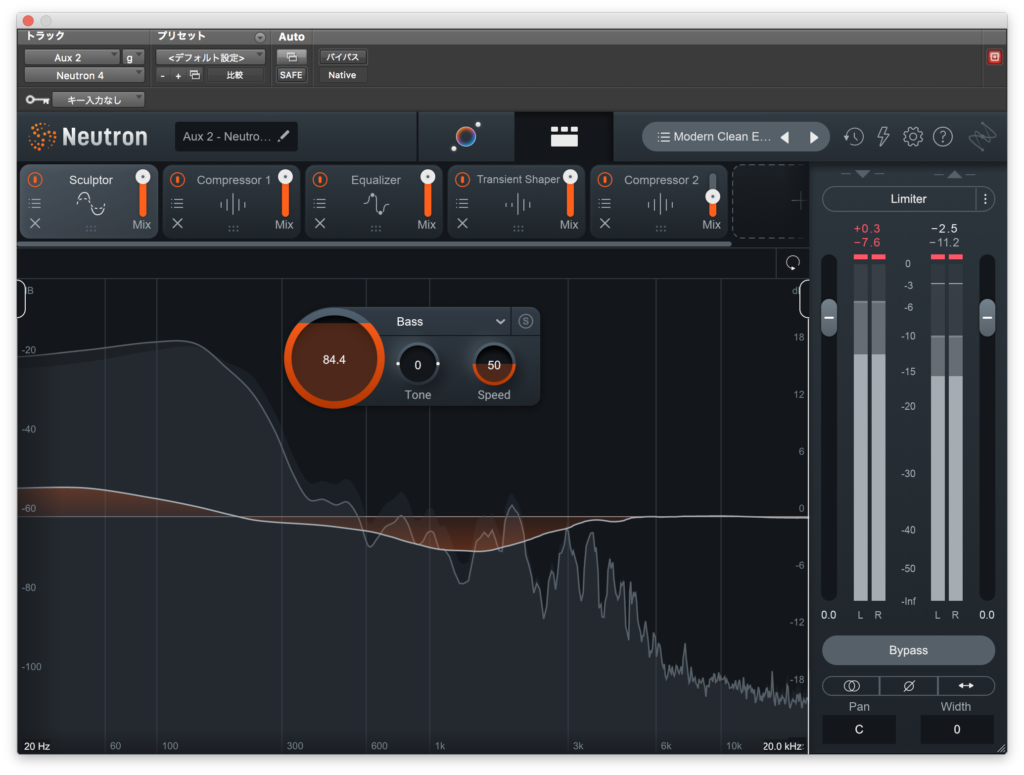
その他の楽器
その他の楽器でプリセットを試してみようと思います。
まずベースから。
スネアを試してみます。
かなりサウンドメイクの幅がありますね。
Visual Mixer

Neutronを入れたトラックの音量と左右のパン振りを一括して行えるのがこのVisual Mixerです。
NeutronまたはRelay等を他トラックにインサートしていくとポイントが現れ、それを動かすことで操作することができます。
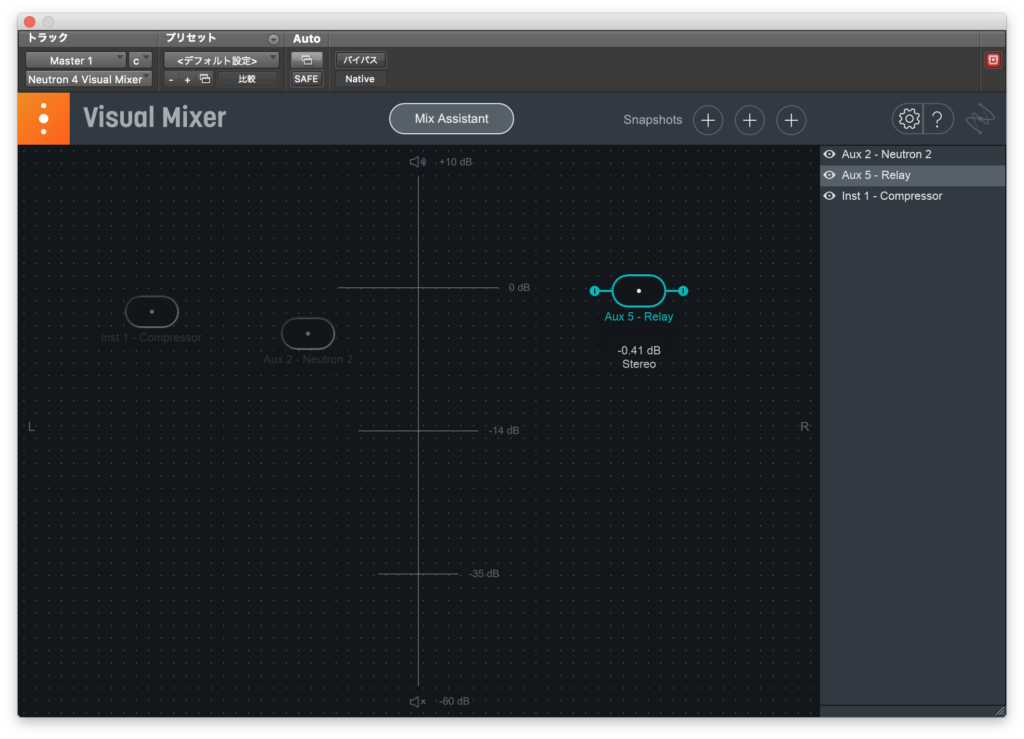
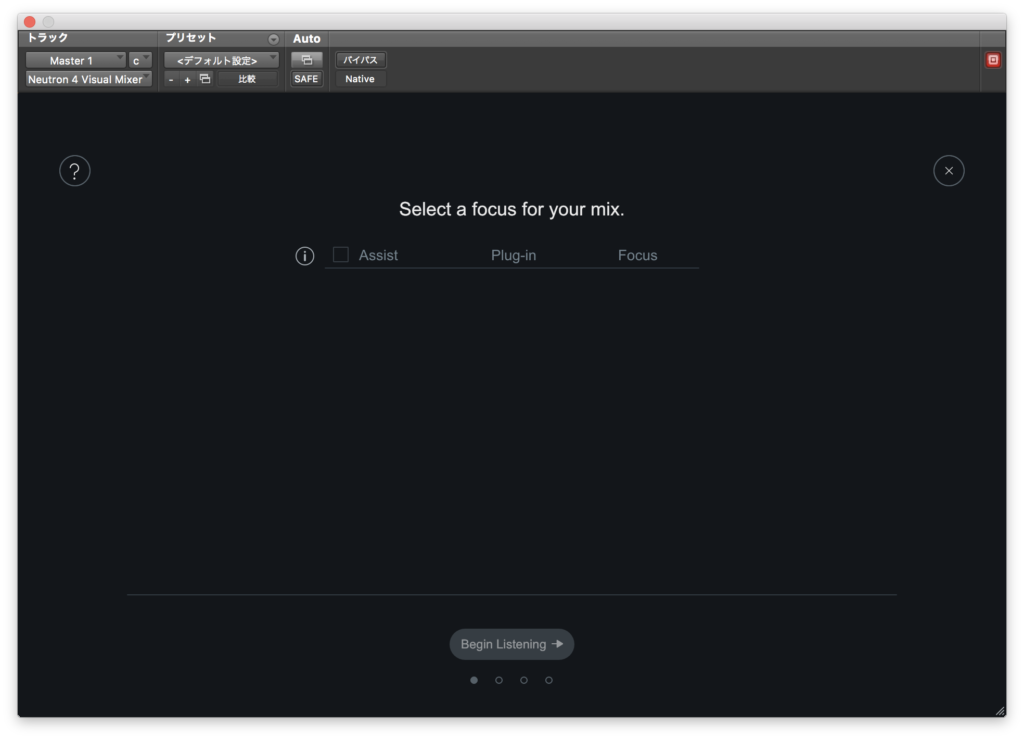
また、Mix Assistantを使うとリファレンスに近づける機能もあるようです。
なかなか面白いですね。
Tonal Balance Control 2

今回は軽く触れる程度にしておきますがNeutron 4には「Tonal Balance Control 2」がついてきます。
リファレンス音源を取り込み、ミックスの全体的な仕上がりをリファレンスと比較するといったことができるそうです。
これもありがたいですね。
まとめ
ミックスに必要なものはリバーブ以外揃っていると思います。
特にSculptorはGullfossみたいで面白いですね。
これ一つで済ませてしまいたいという方には合っているプラグインなのではないでしょうか。
今月のプラグインセール情報をまとめてみました。
よかったら見ていってください。


コメント